Year - Model
2024 - EXV42024 - EXV2
Manufacture Dates
Between 03/26/2024 Thru 12/01/2024
Technical Service Bulletin
Summary:
In the event that battery pack voltage comesin contact with the chassis of the vehicle, the CANBUS system may causefailures to some, or all of the components connected to the CANBUS system.
Note: This can happen even in the event of measuring voltage between the battery pack voltage and the chassis.
The following list of components are potentially exposed to failure:
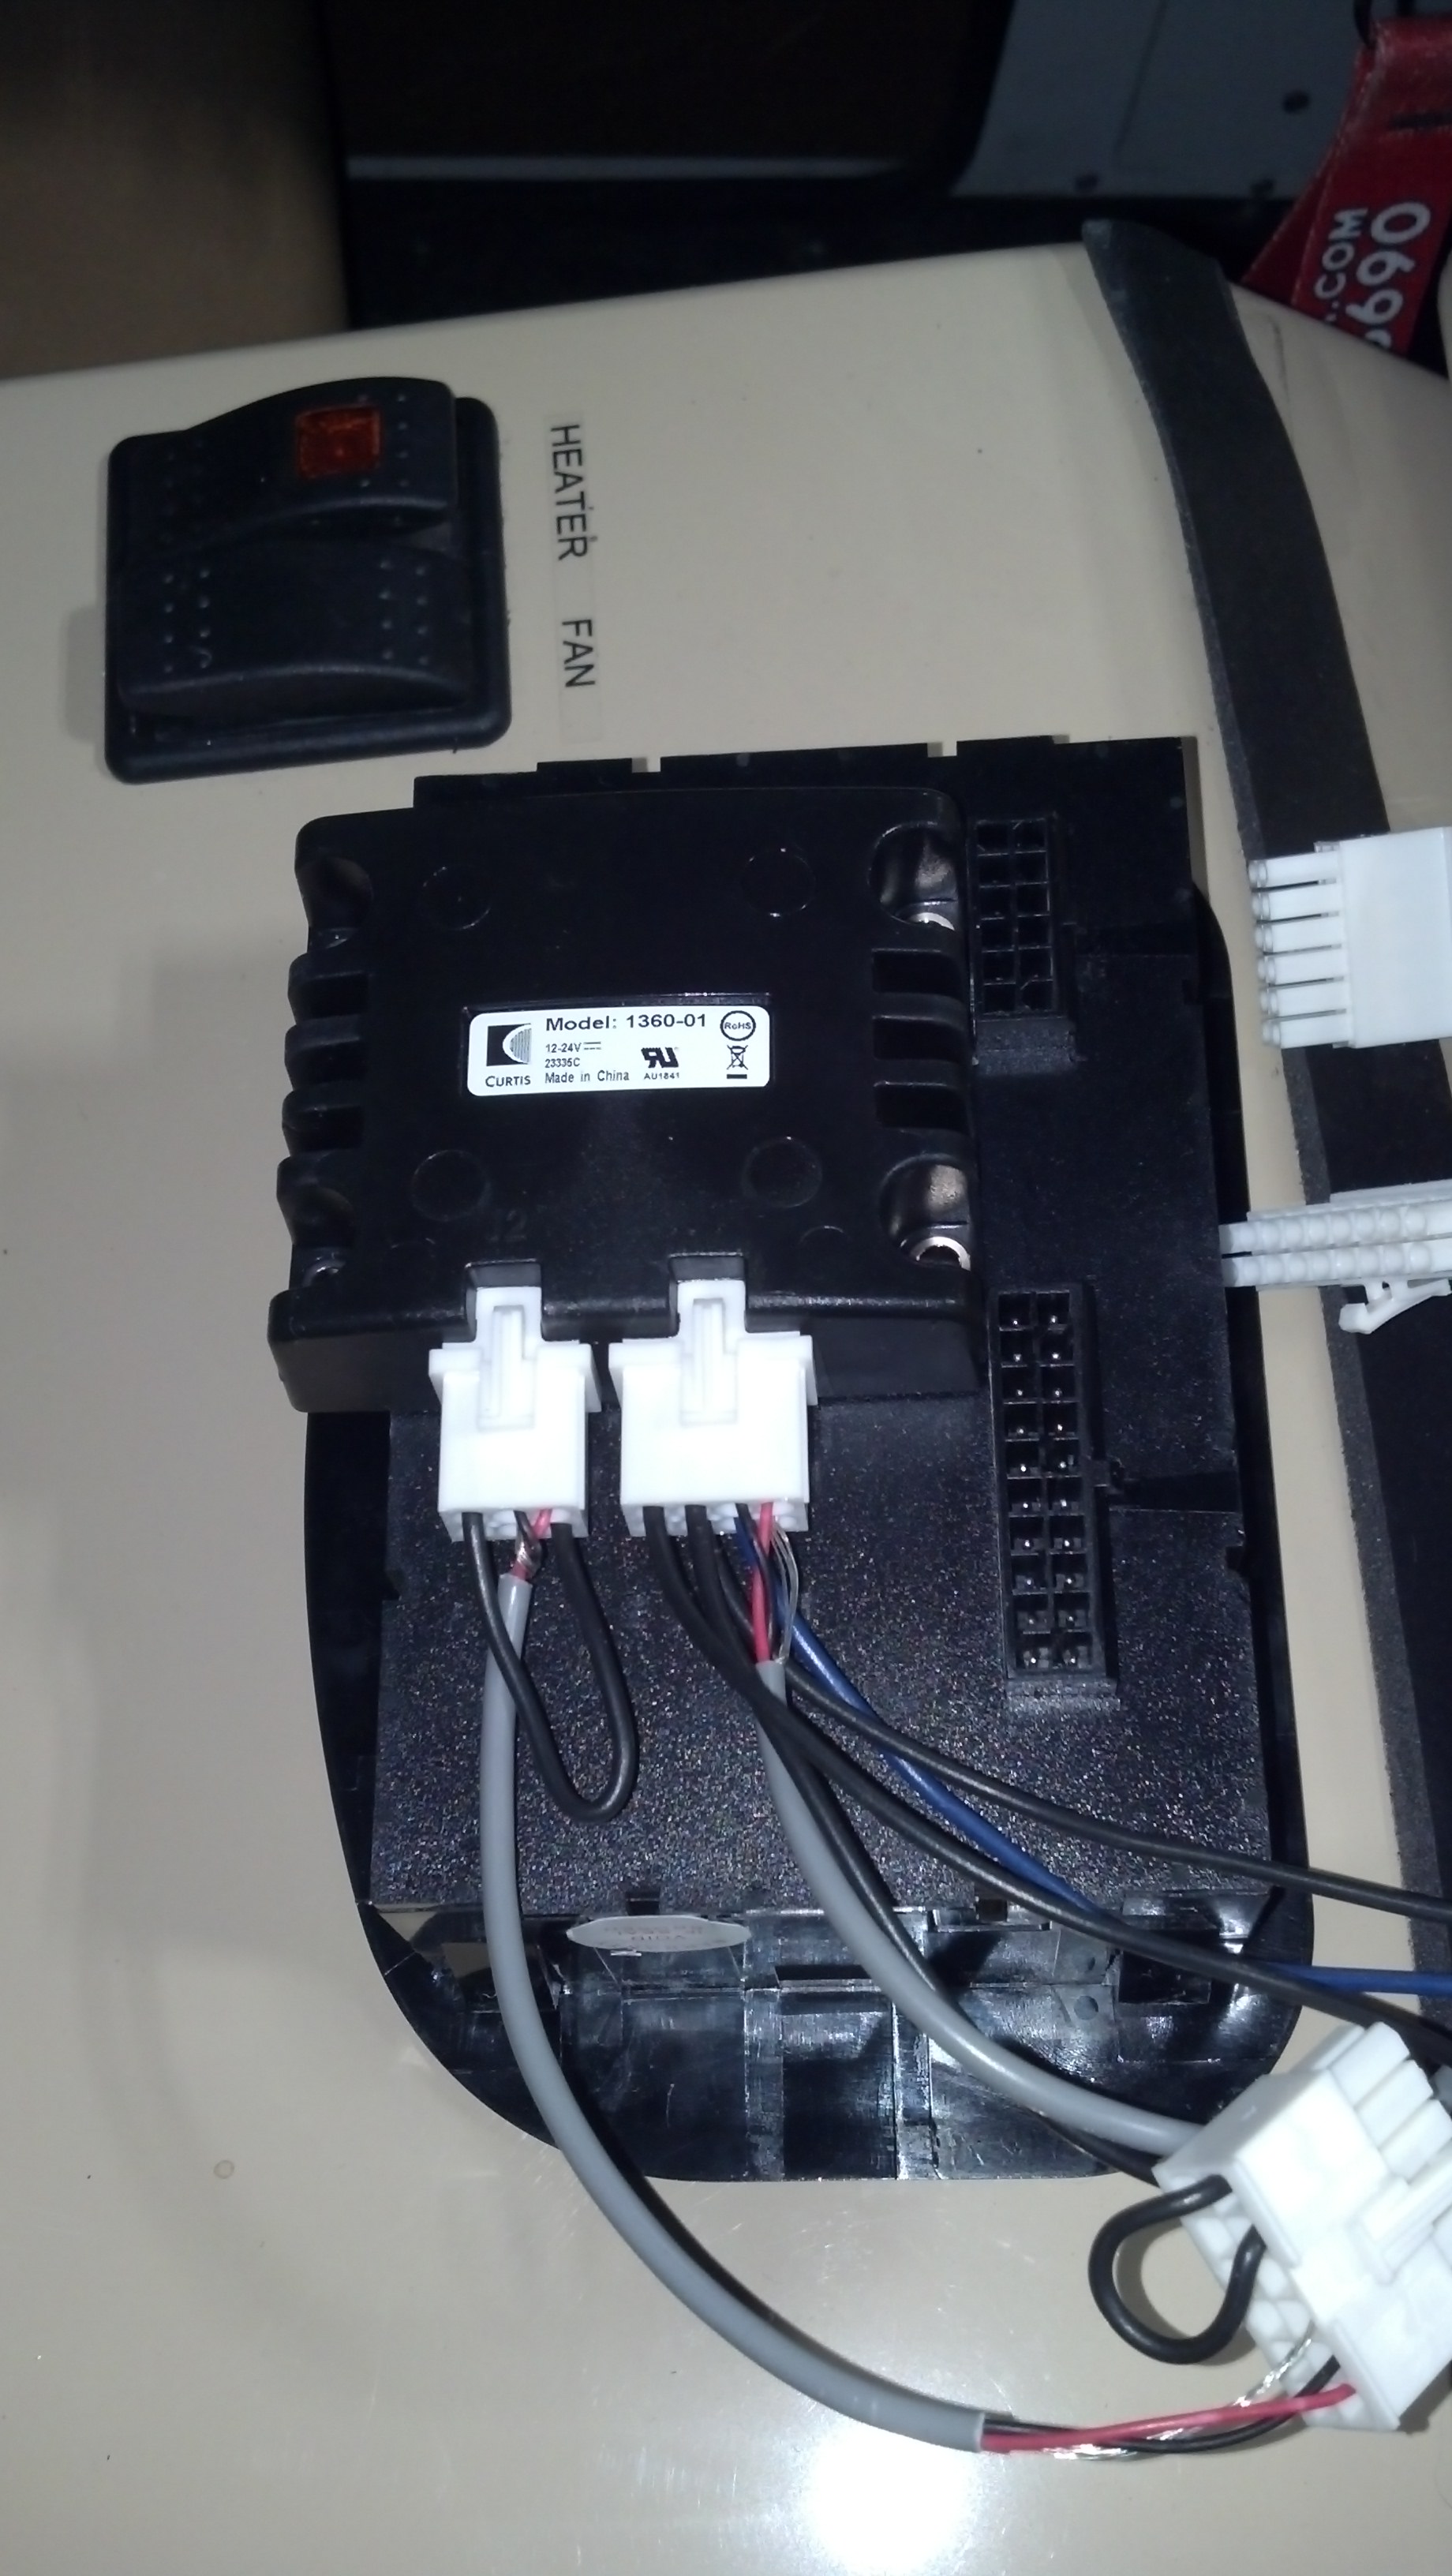
- Dash display
- Lithium PCB assembly
- Battery Charger
- Speed Controller
- Battery Management System (BMS)
Preventative Measure:
To mitigate the risk of failure, KIT-48 can be installed into the vehicle. This kit mounts to the rear of the dash display and plug inline to CANBUS wiring going to the display.
Installation Instructions for KIT-48:
Note: images are of an EXV2 model. Installation steps are identical for the EXV4 model.
1 - Turn the main battery disconnect switch off in the passenger's front wheel well.
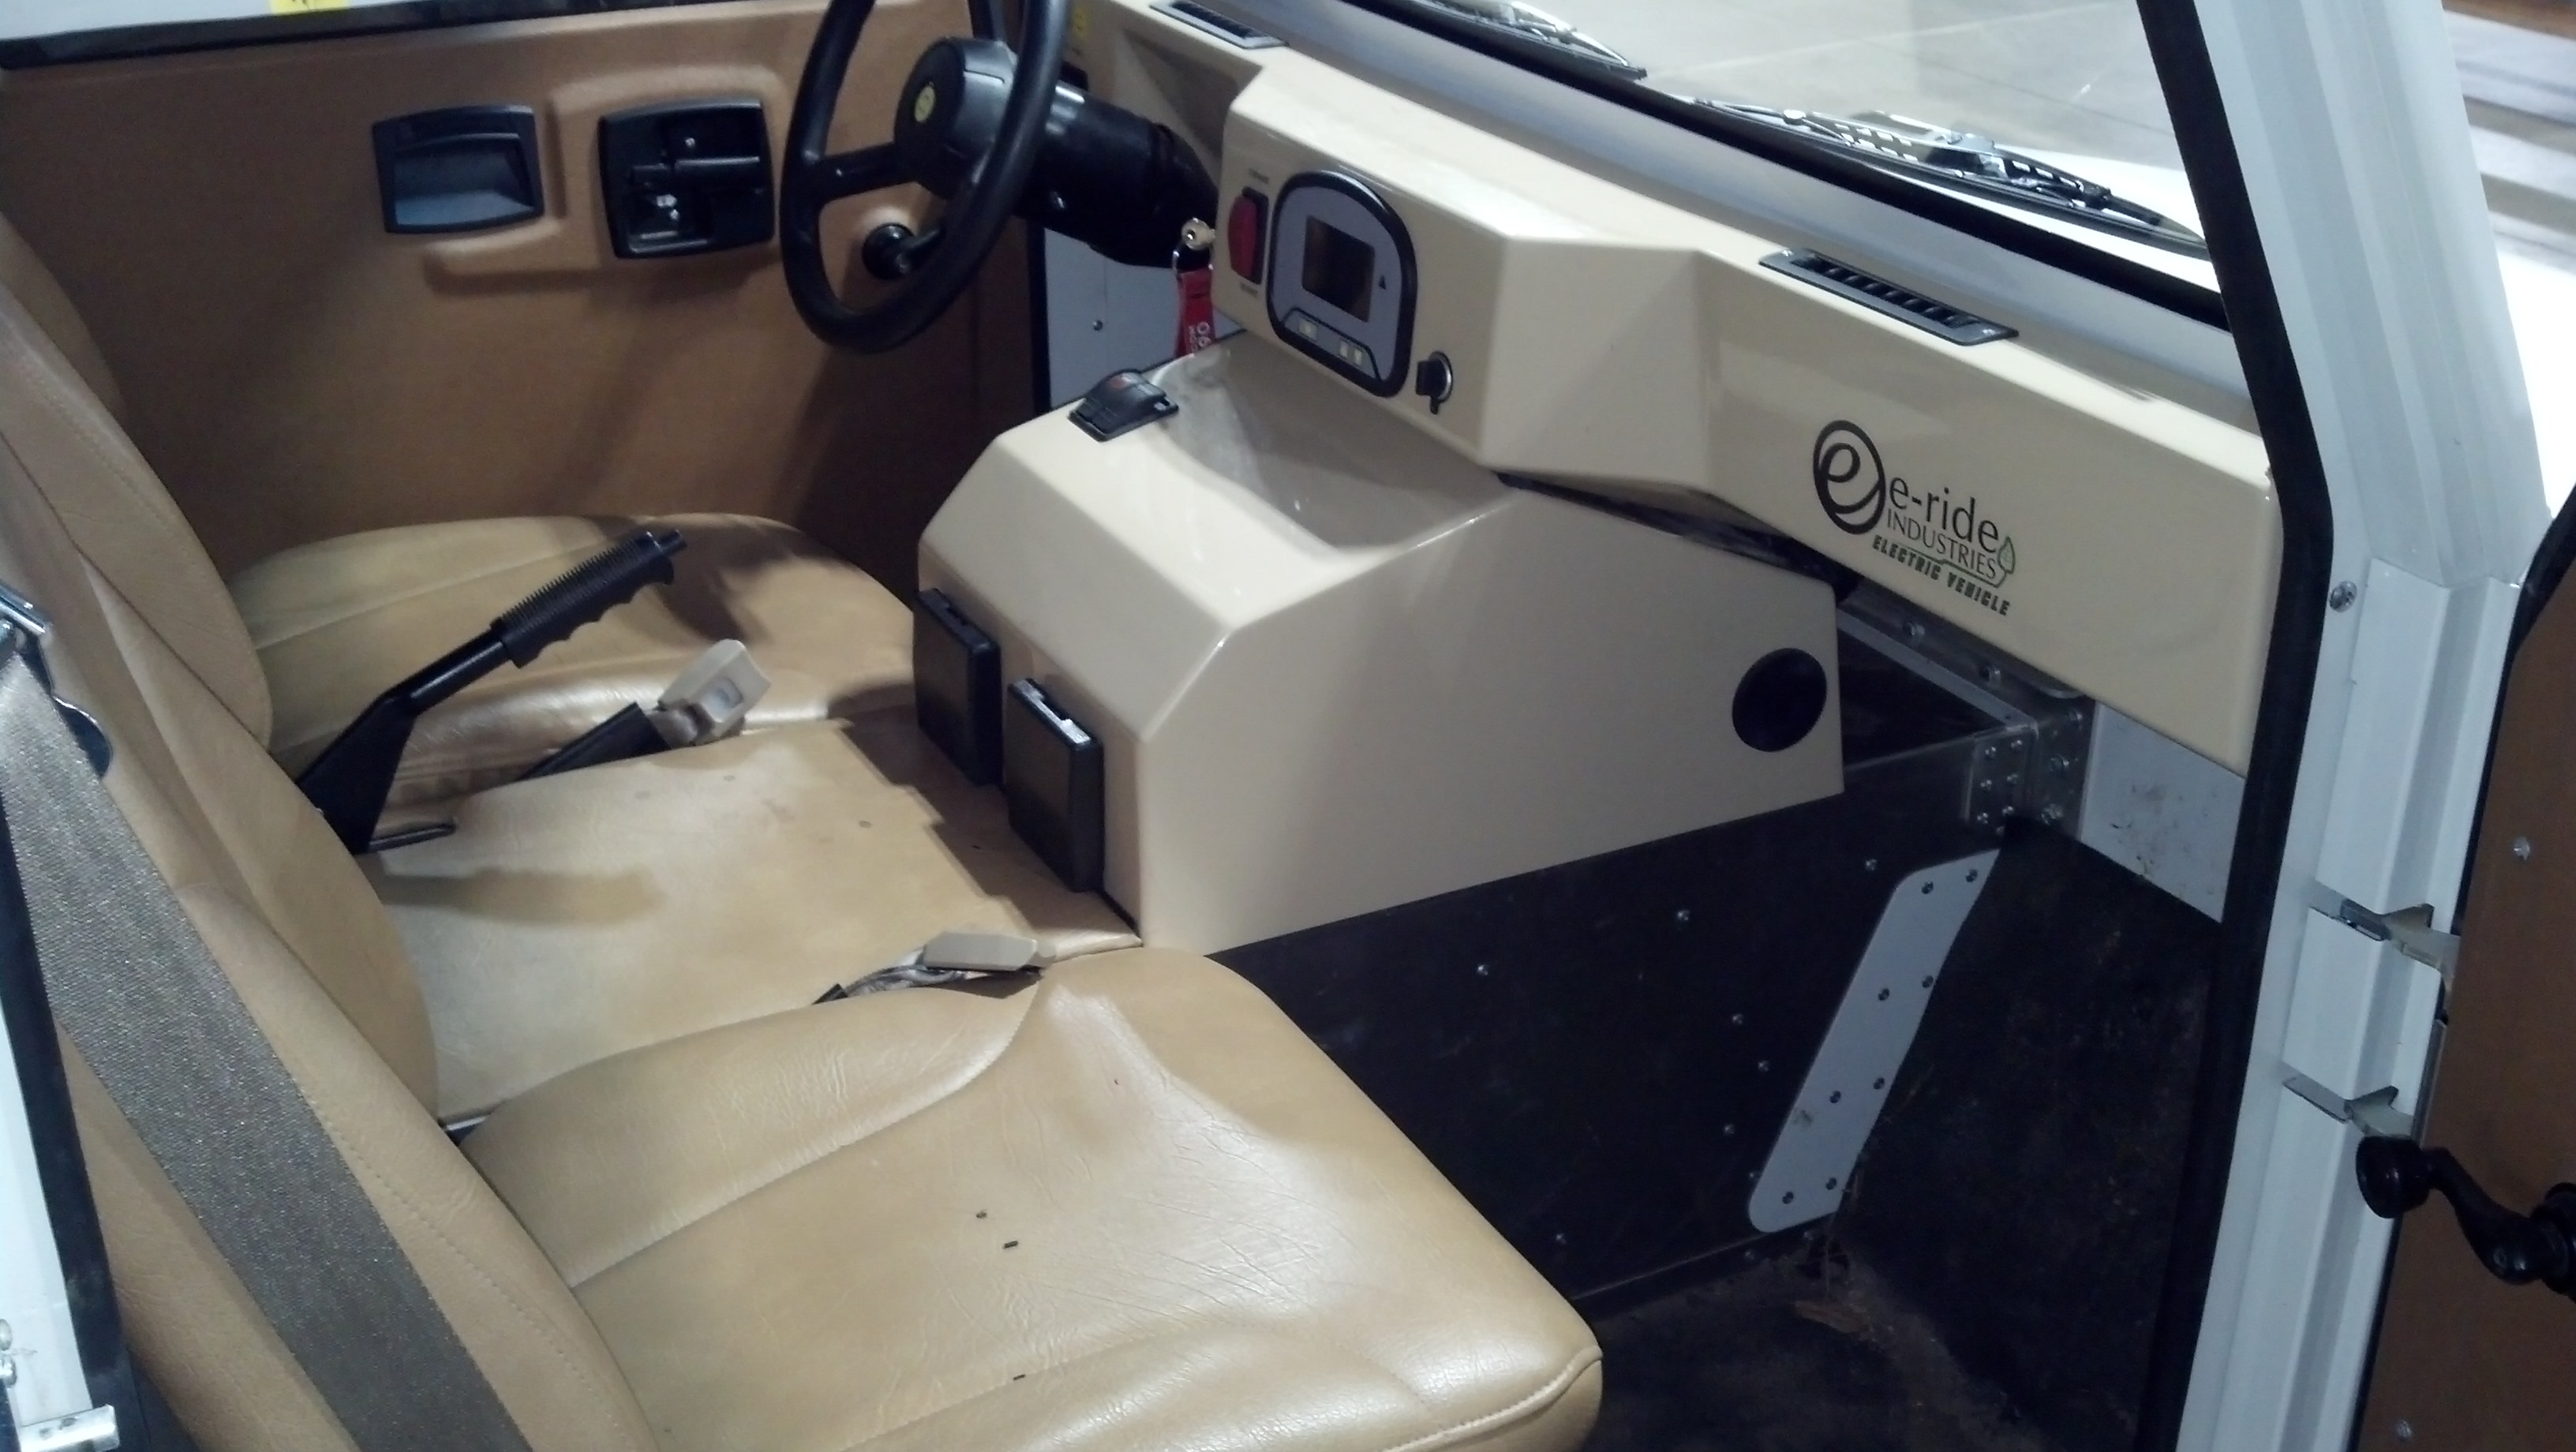
2 - Open passenger door.
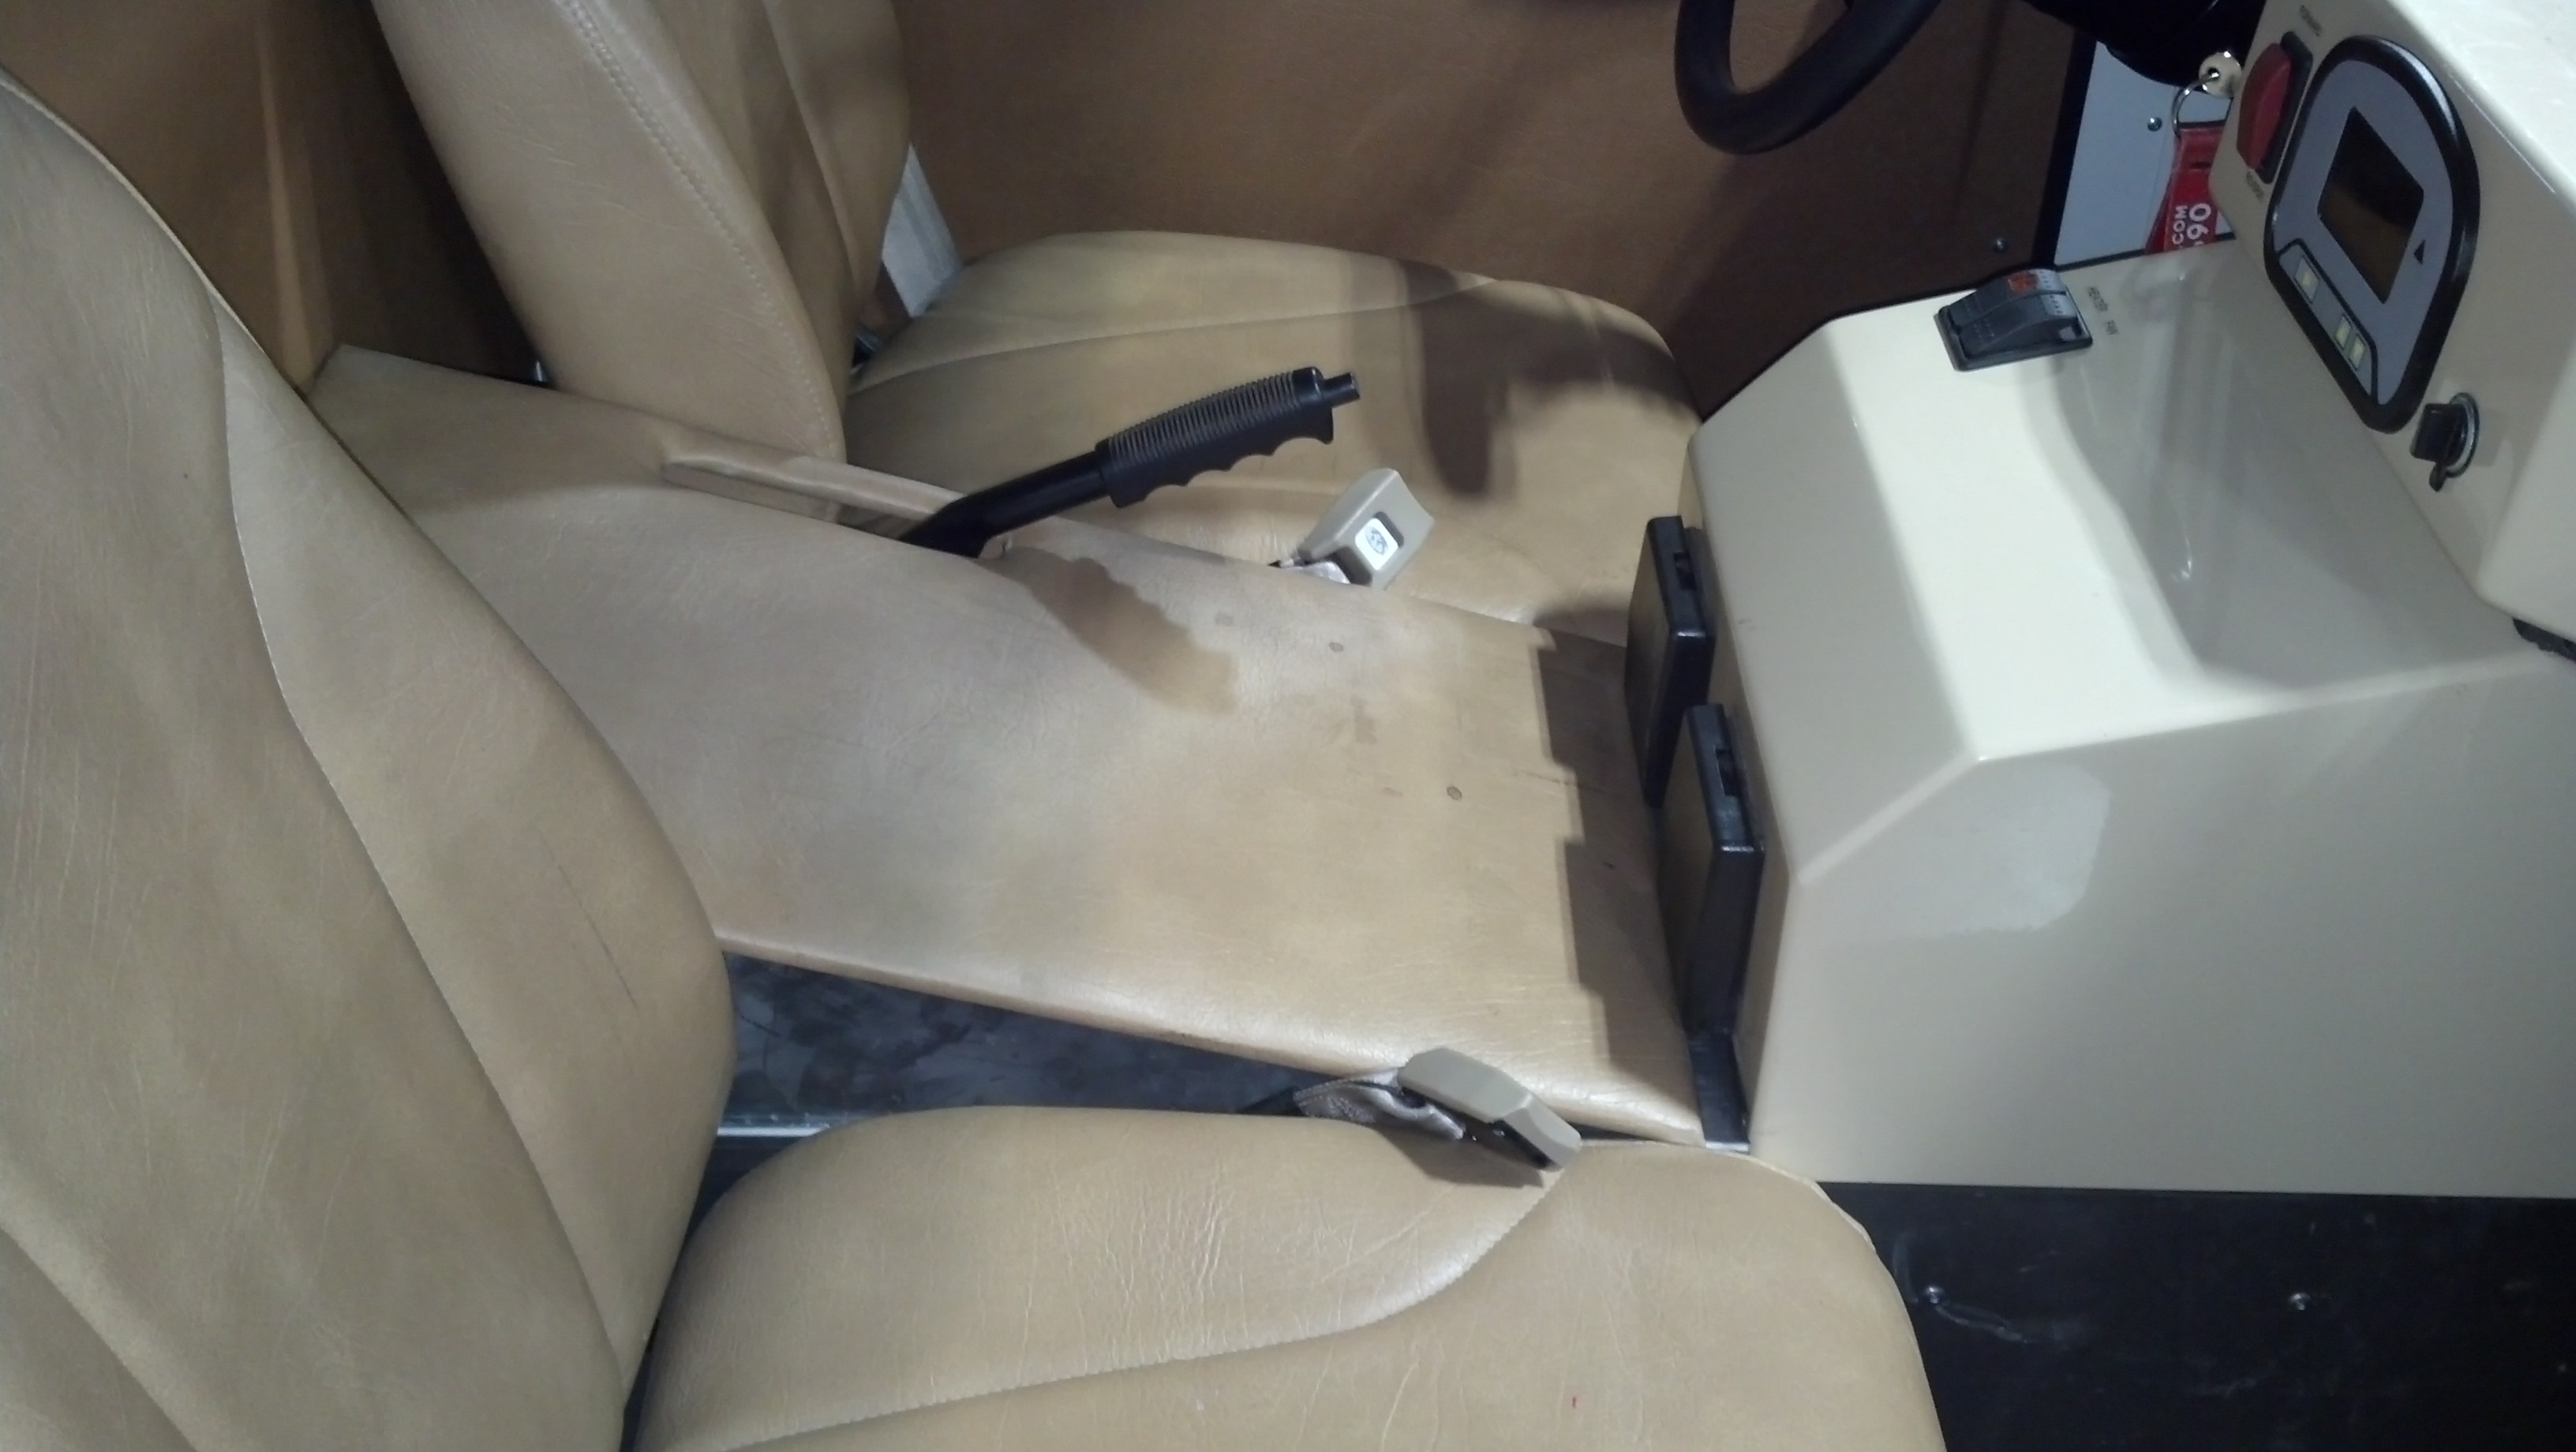
3 - Pull park brake lever up and lift up arm rest pad shifting it back as far as you can.
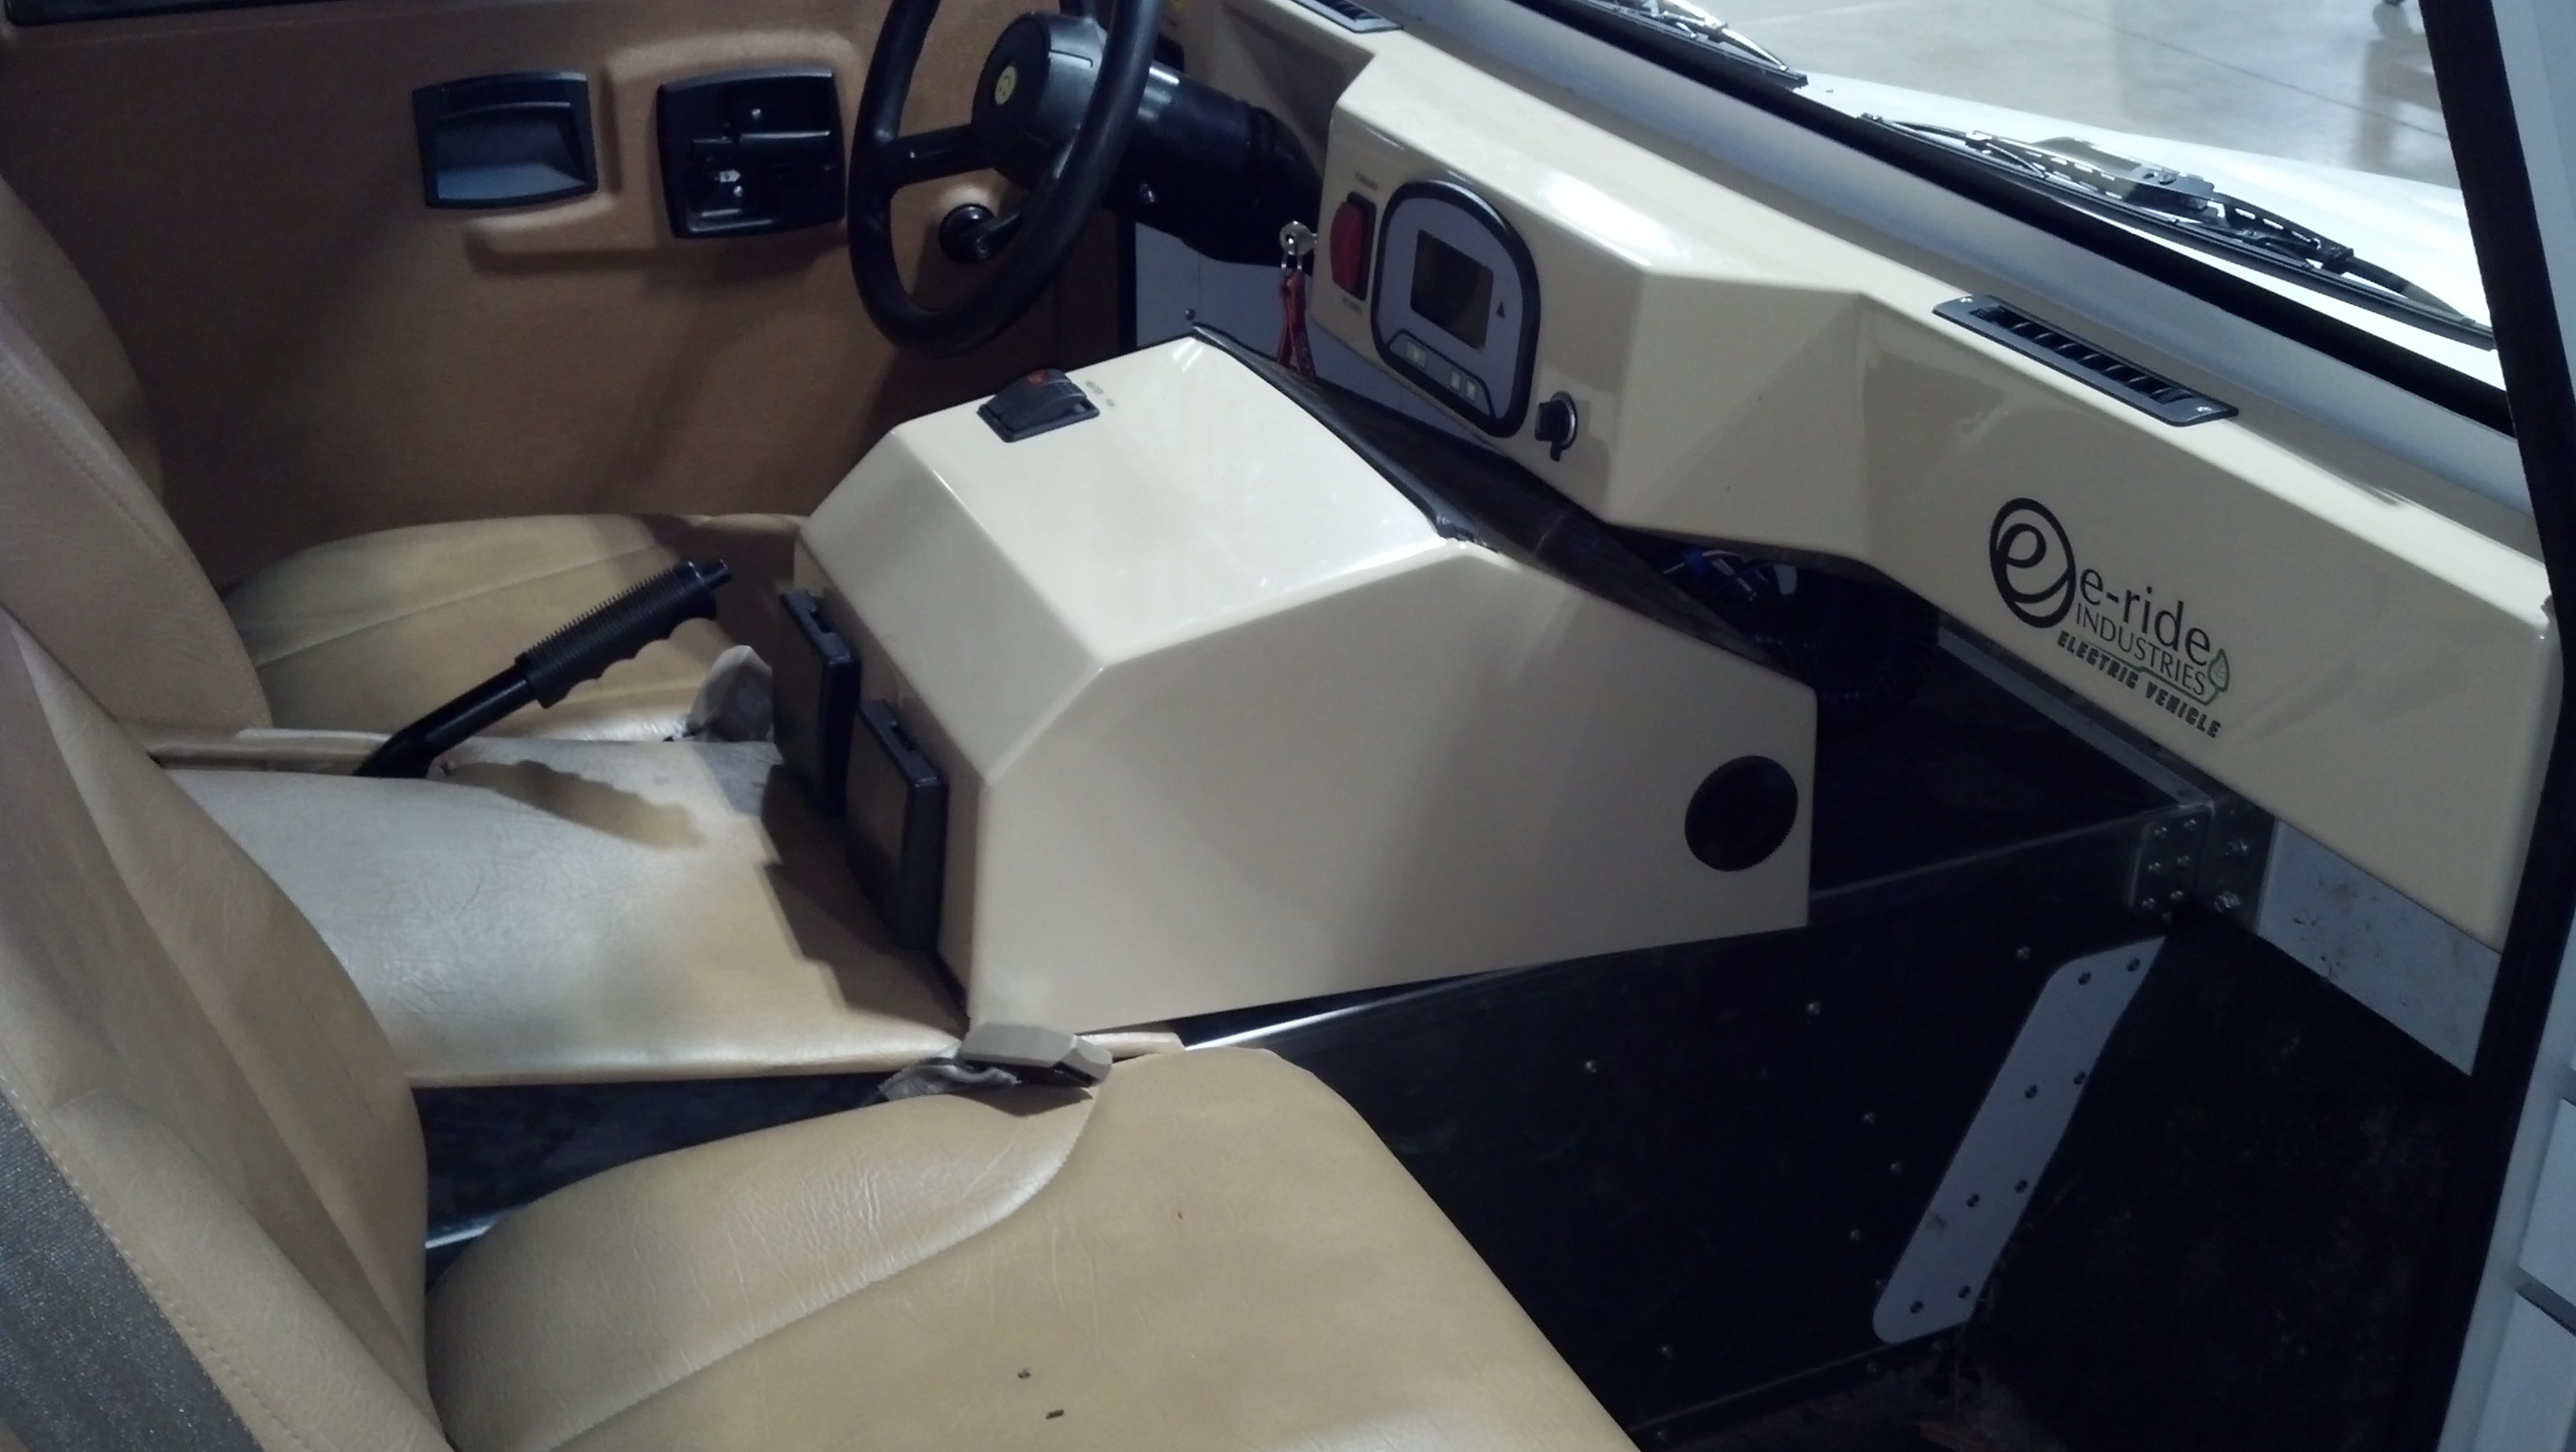
4 - Shift Center Console back away from dash. You do not need to unplug the connections in the rear. The console is just saddled on the center tunnel. It can be tight in some cases which may cause you to use some force to come loose.
If your vehicle is equipped with fuel heater, the console will look different and may not require to be removed.
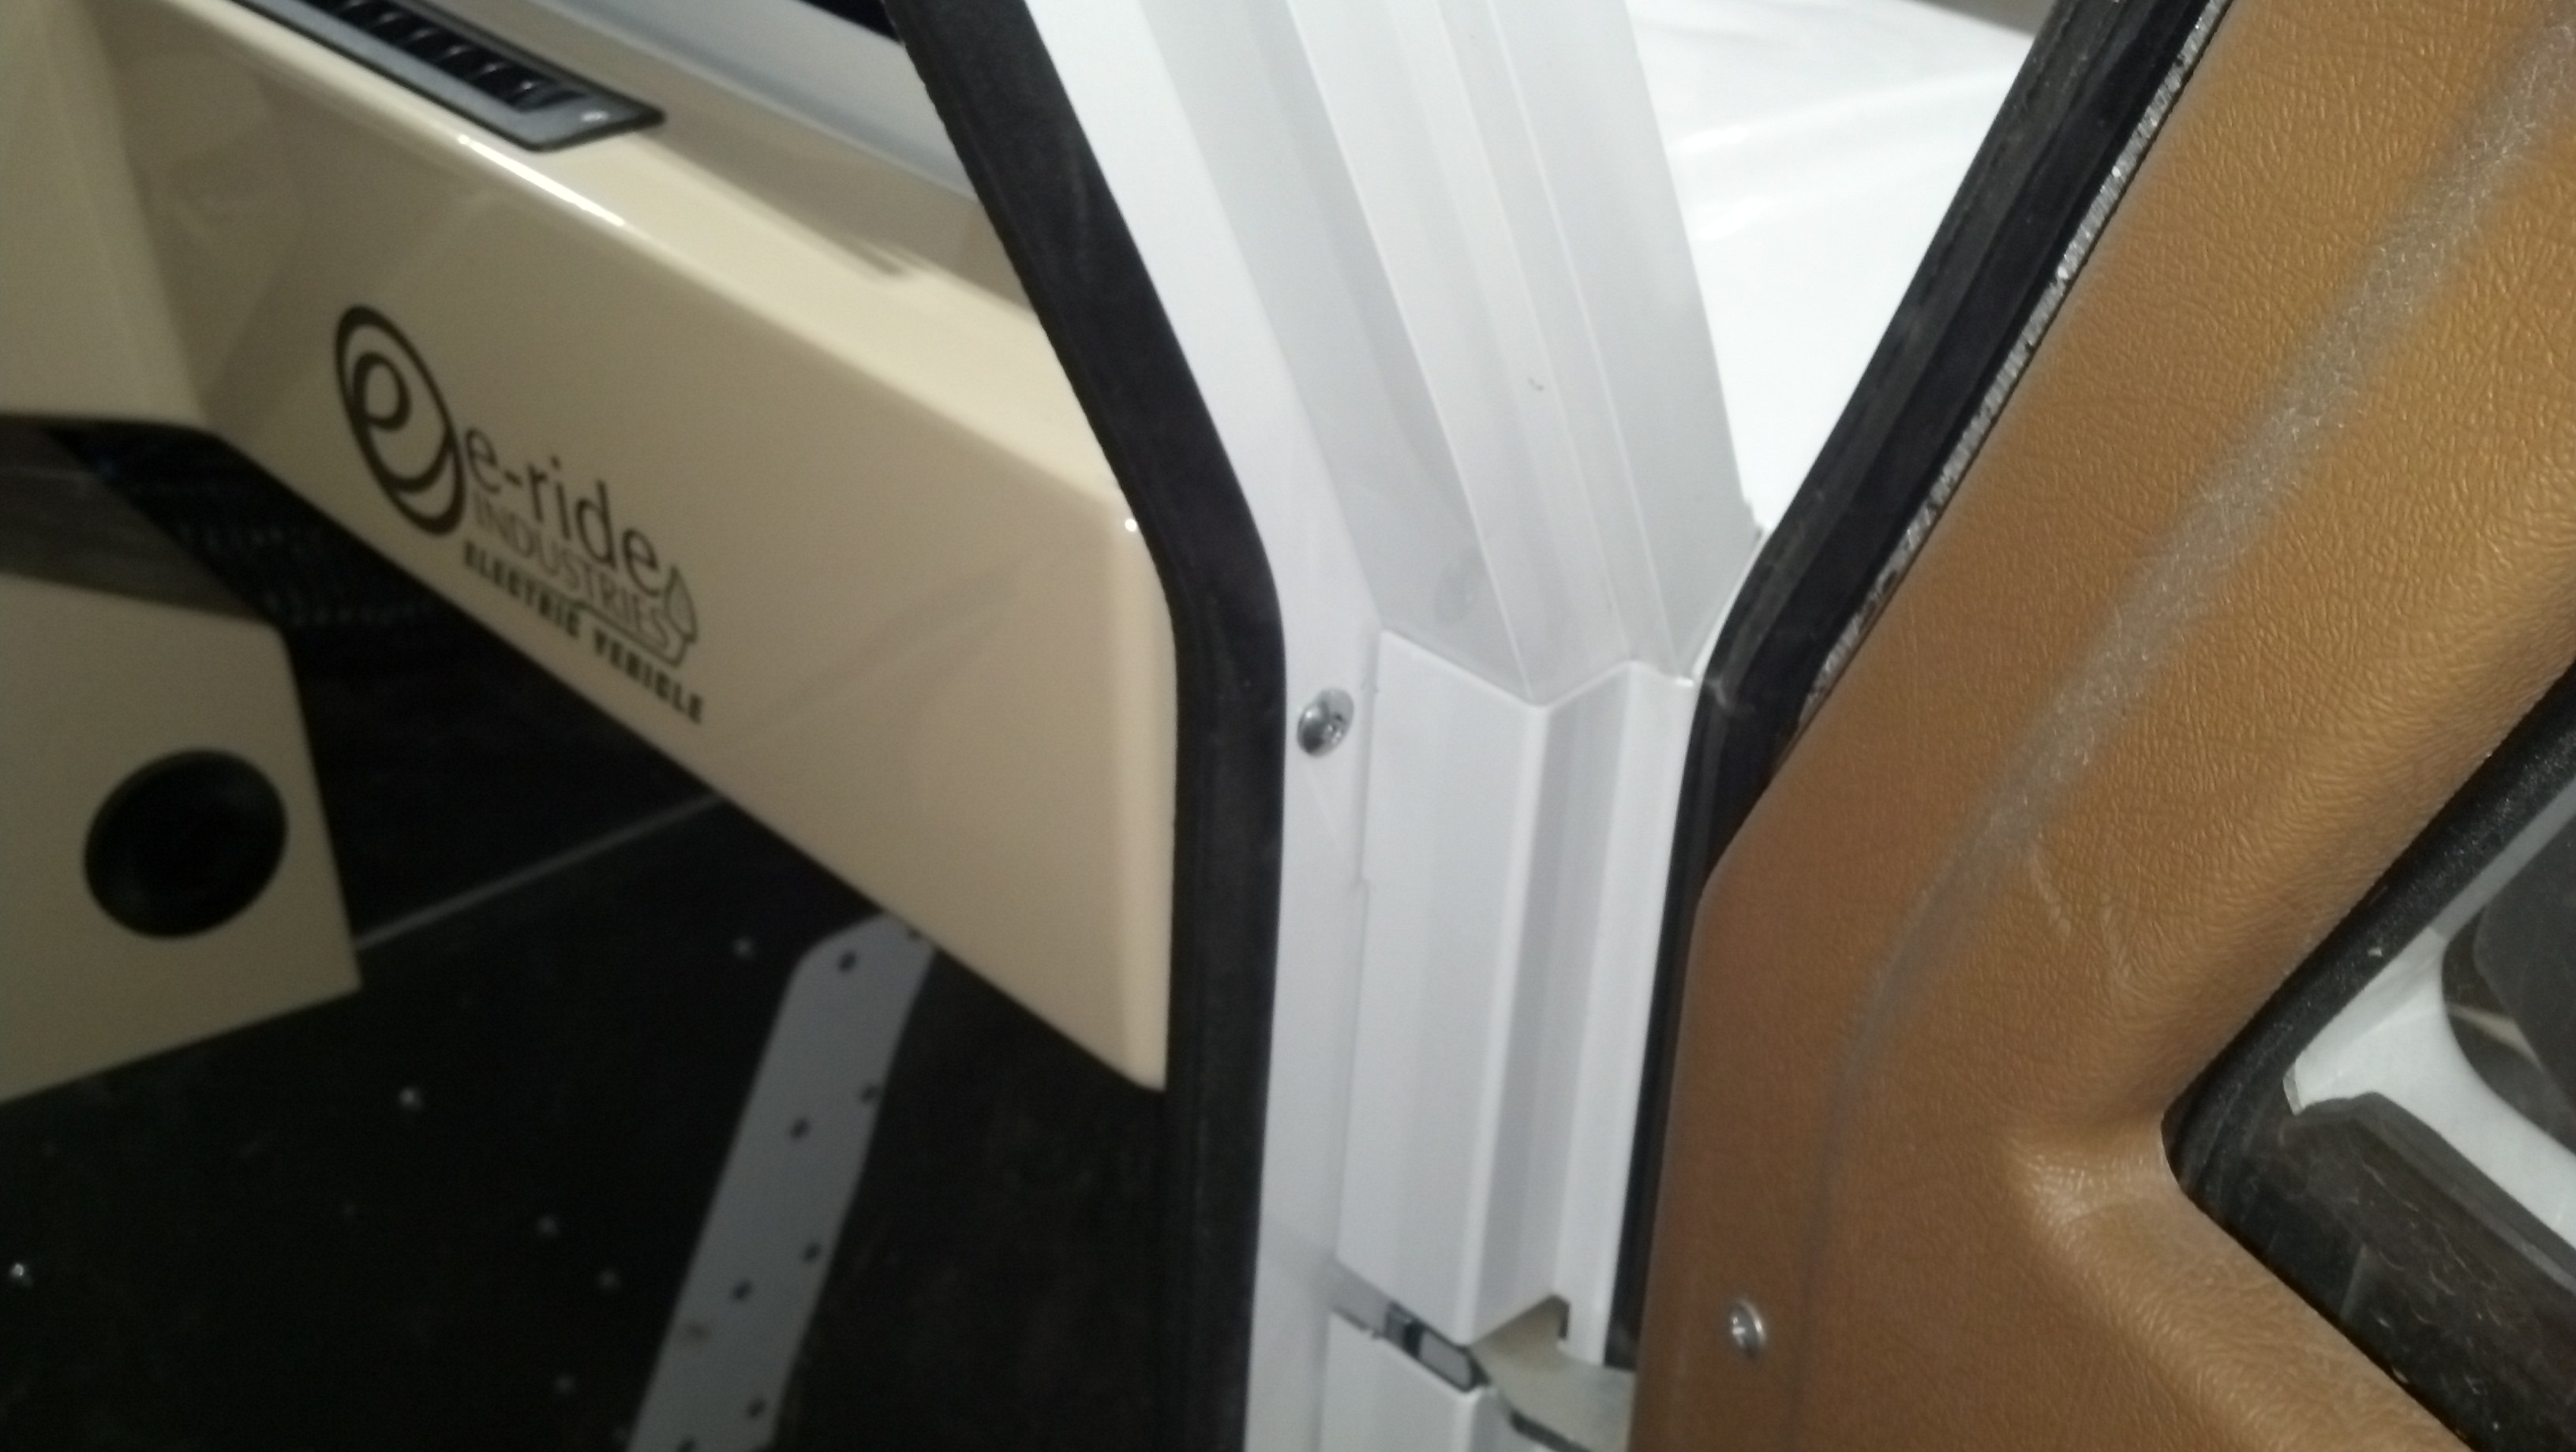
5 - In the jamb of the door, you will find a phillips head bolt. Remove it and dash will become loose.
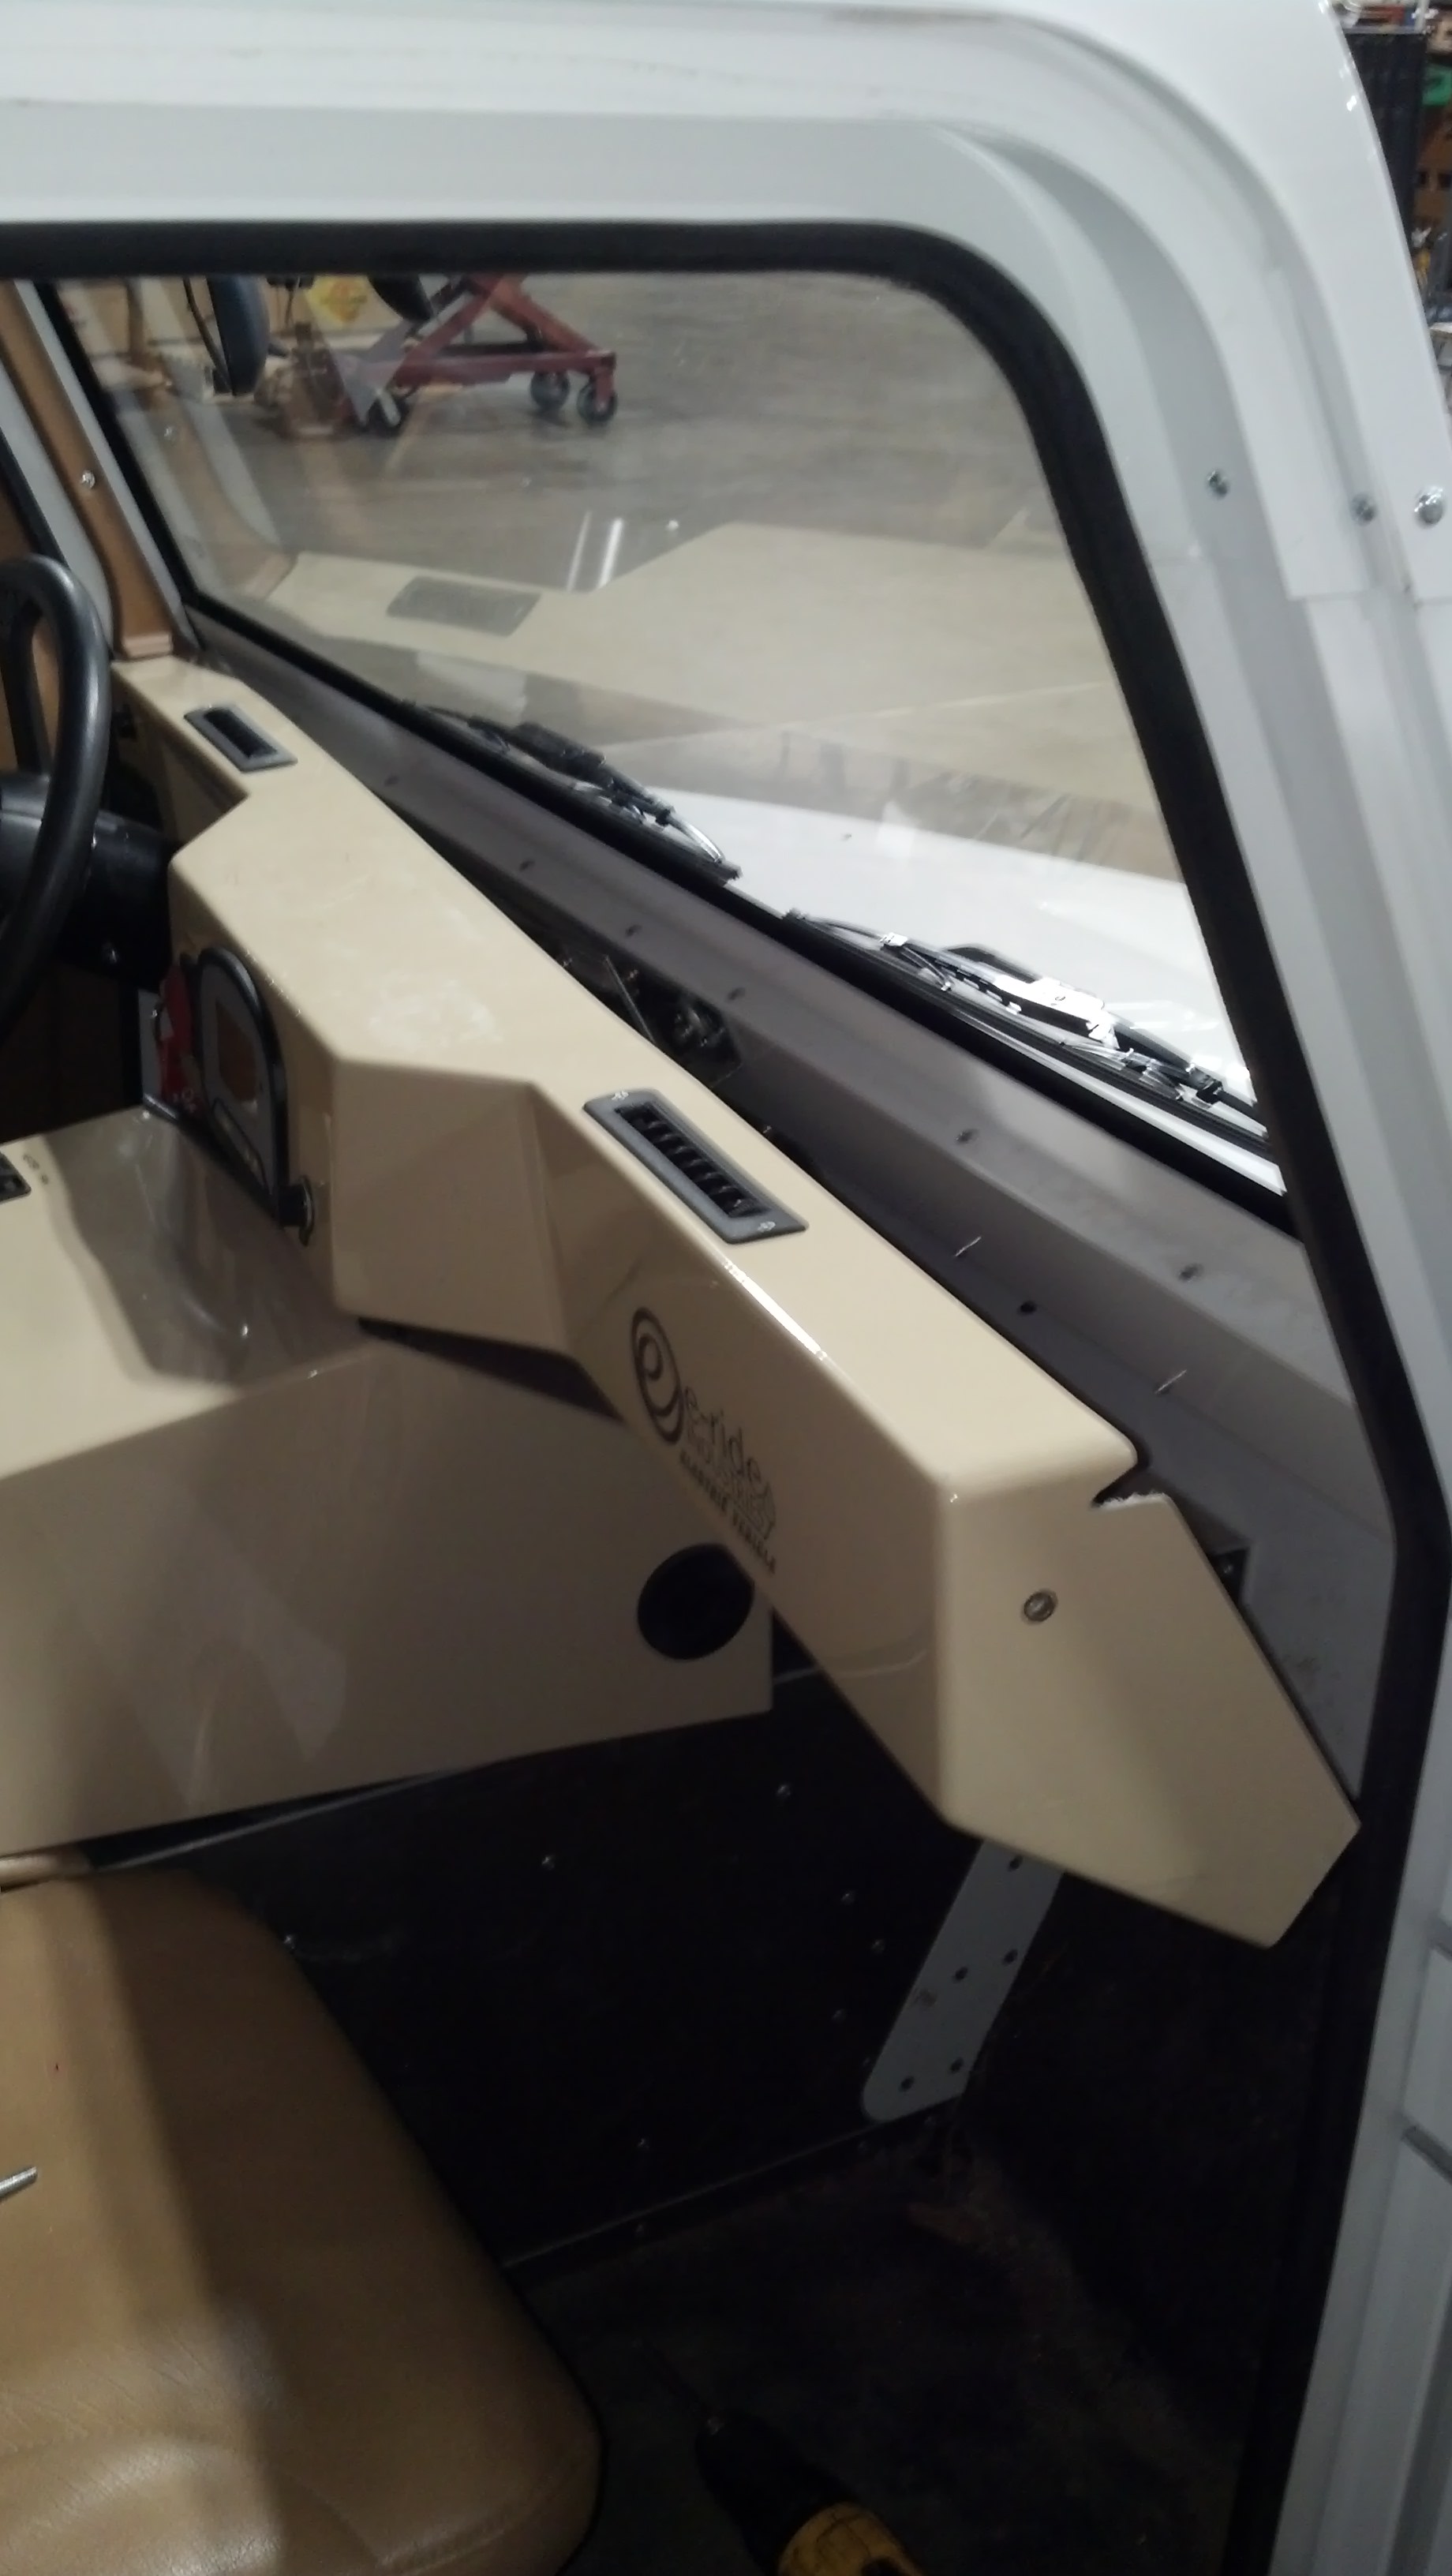
6 - Pull the dash forward to gain access behind it.
7 - You will have the best results if you remove the dash display from the dash. To do this you will reach behind dash and push inward on the plastic retainers on each side of the dash display. You can push each one in while slightly pushing outward on the dash display. These are a tight fit.
If for some reason you cannot remove the display, you can perform the repairs from behind. The dash mount screw can be removed from the drivers side door jamb making the dash looser gaining better access to the rear.
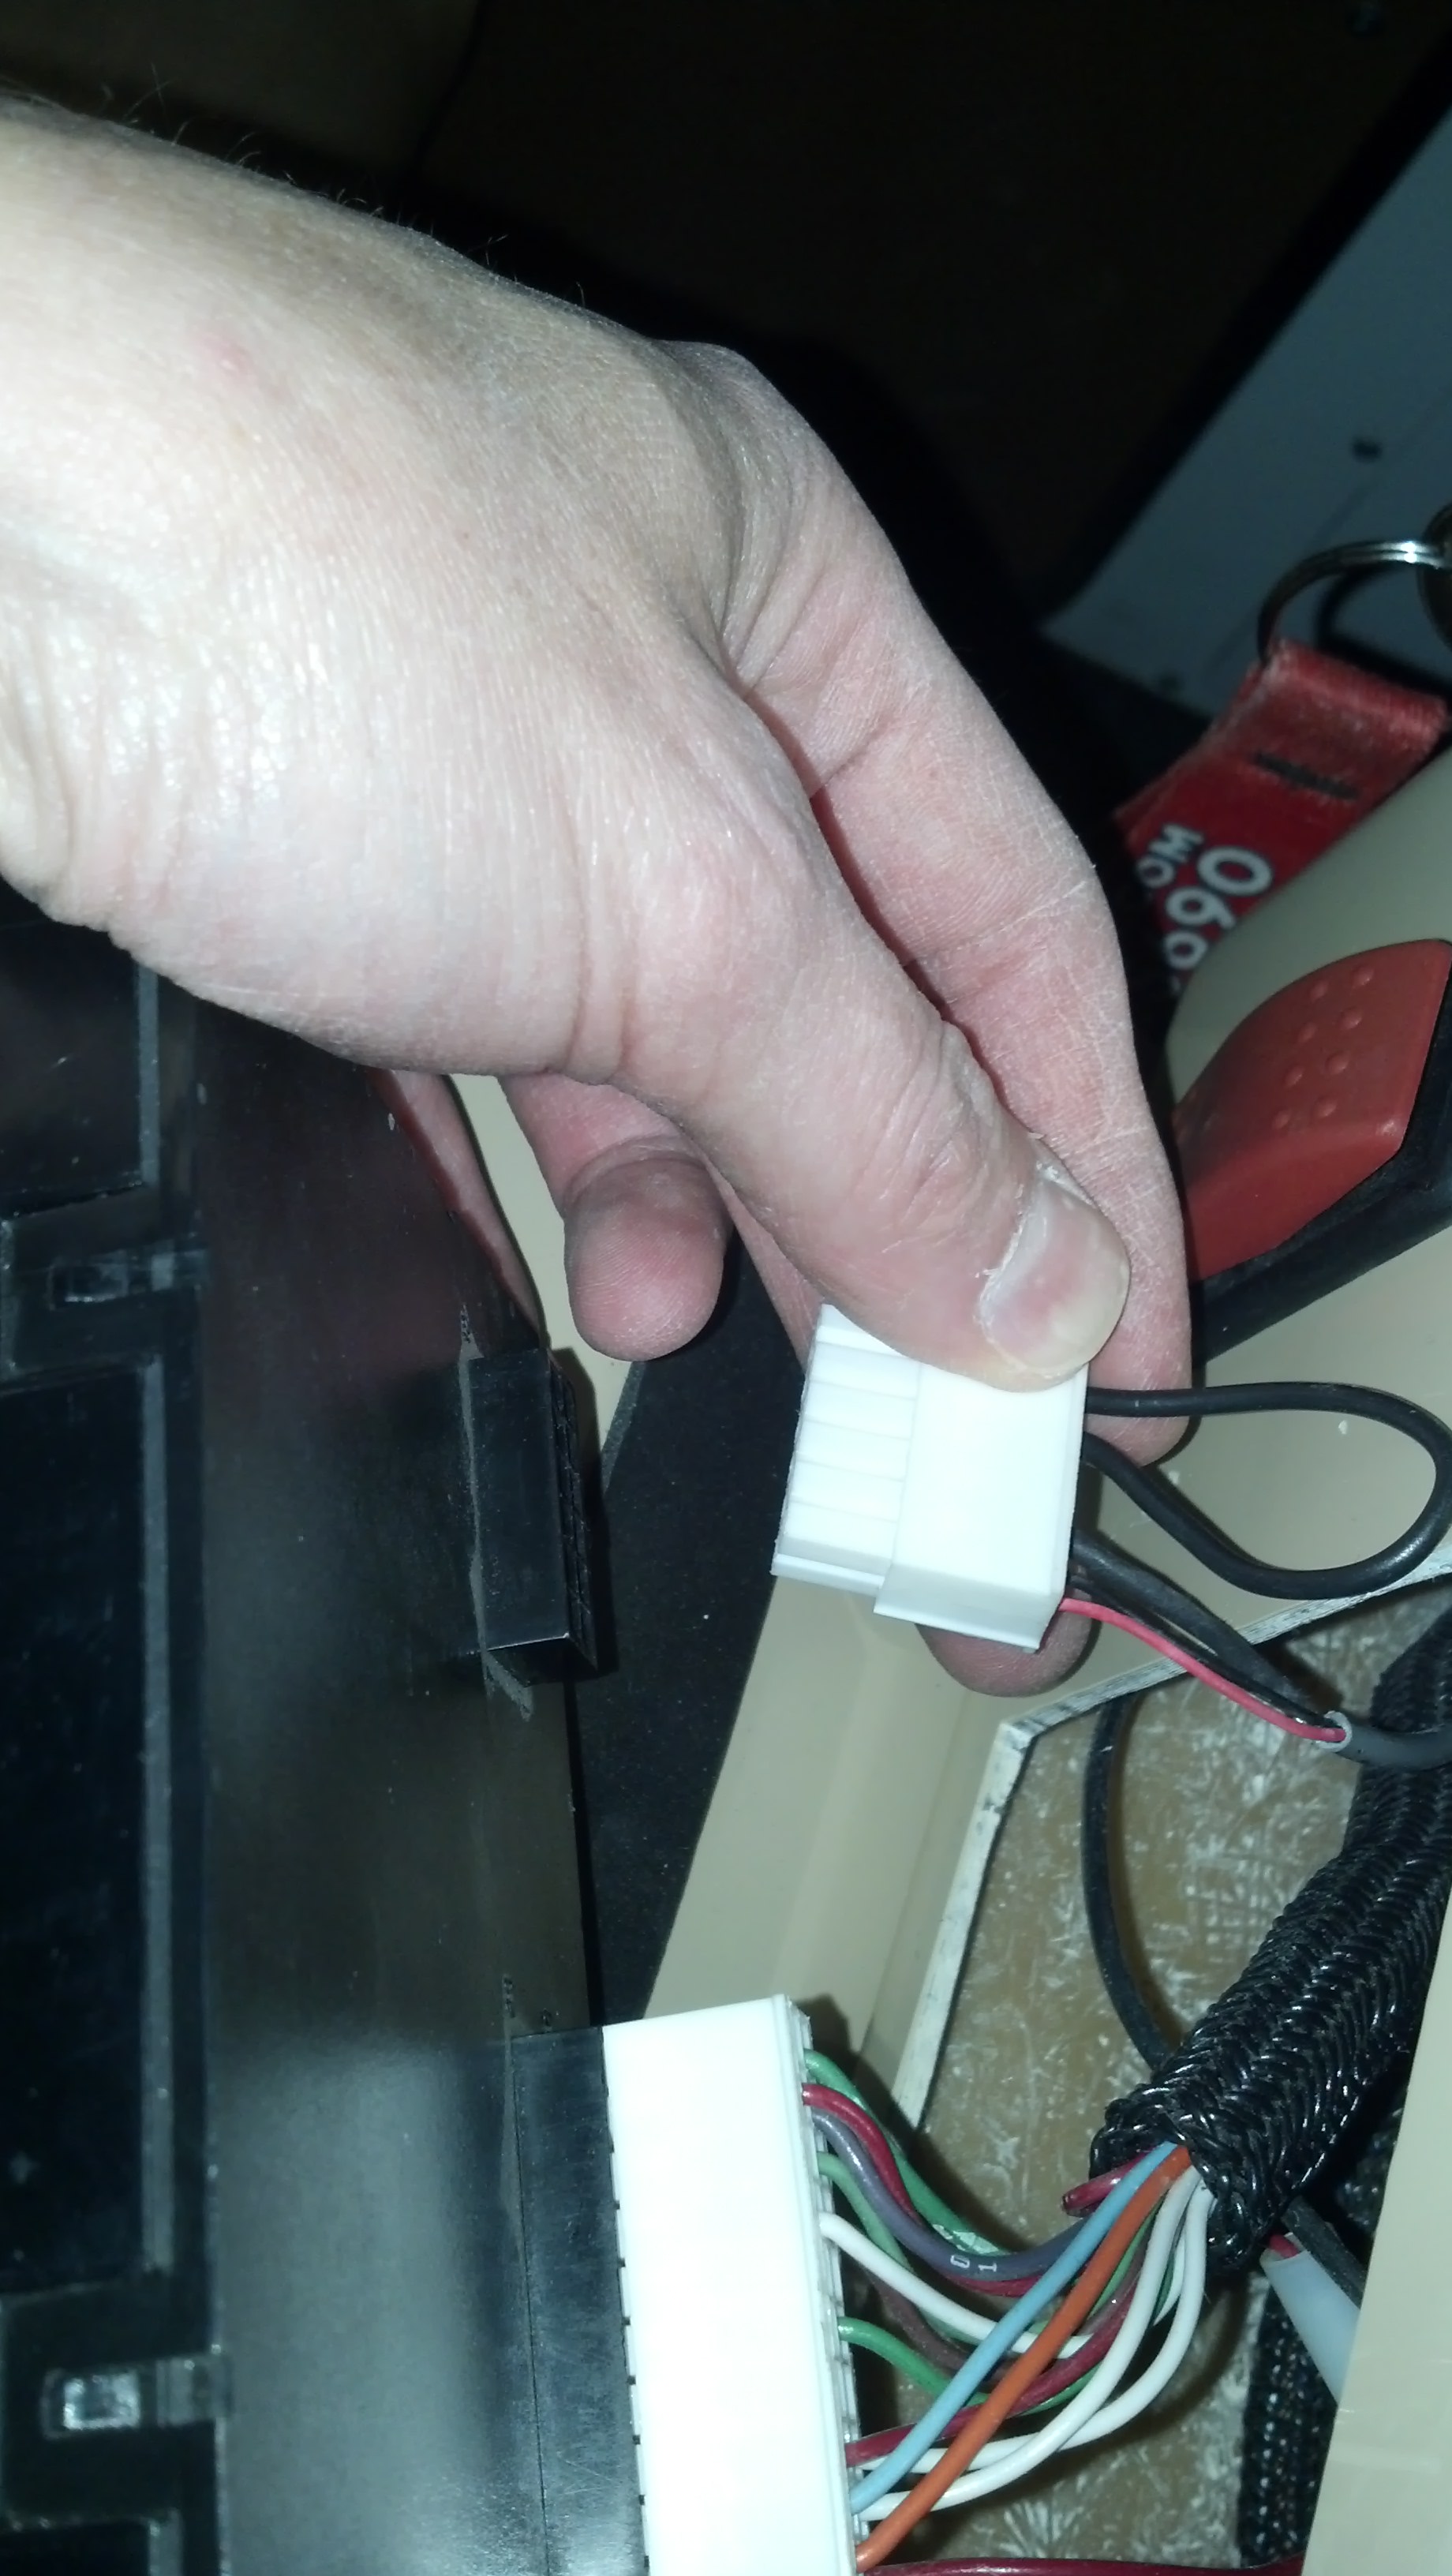
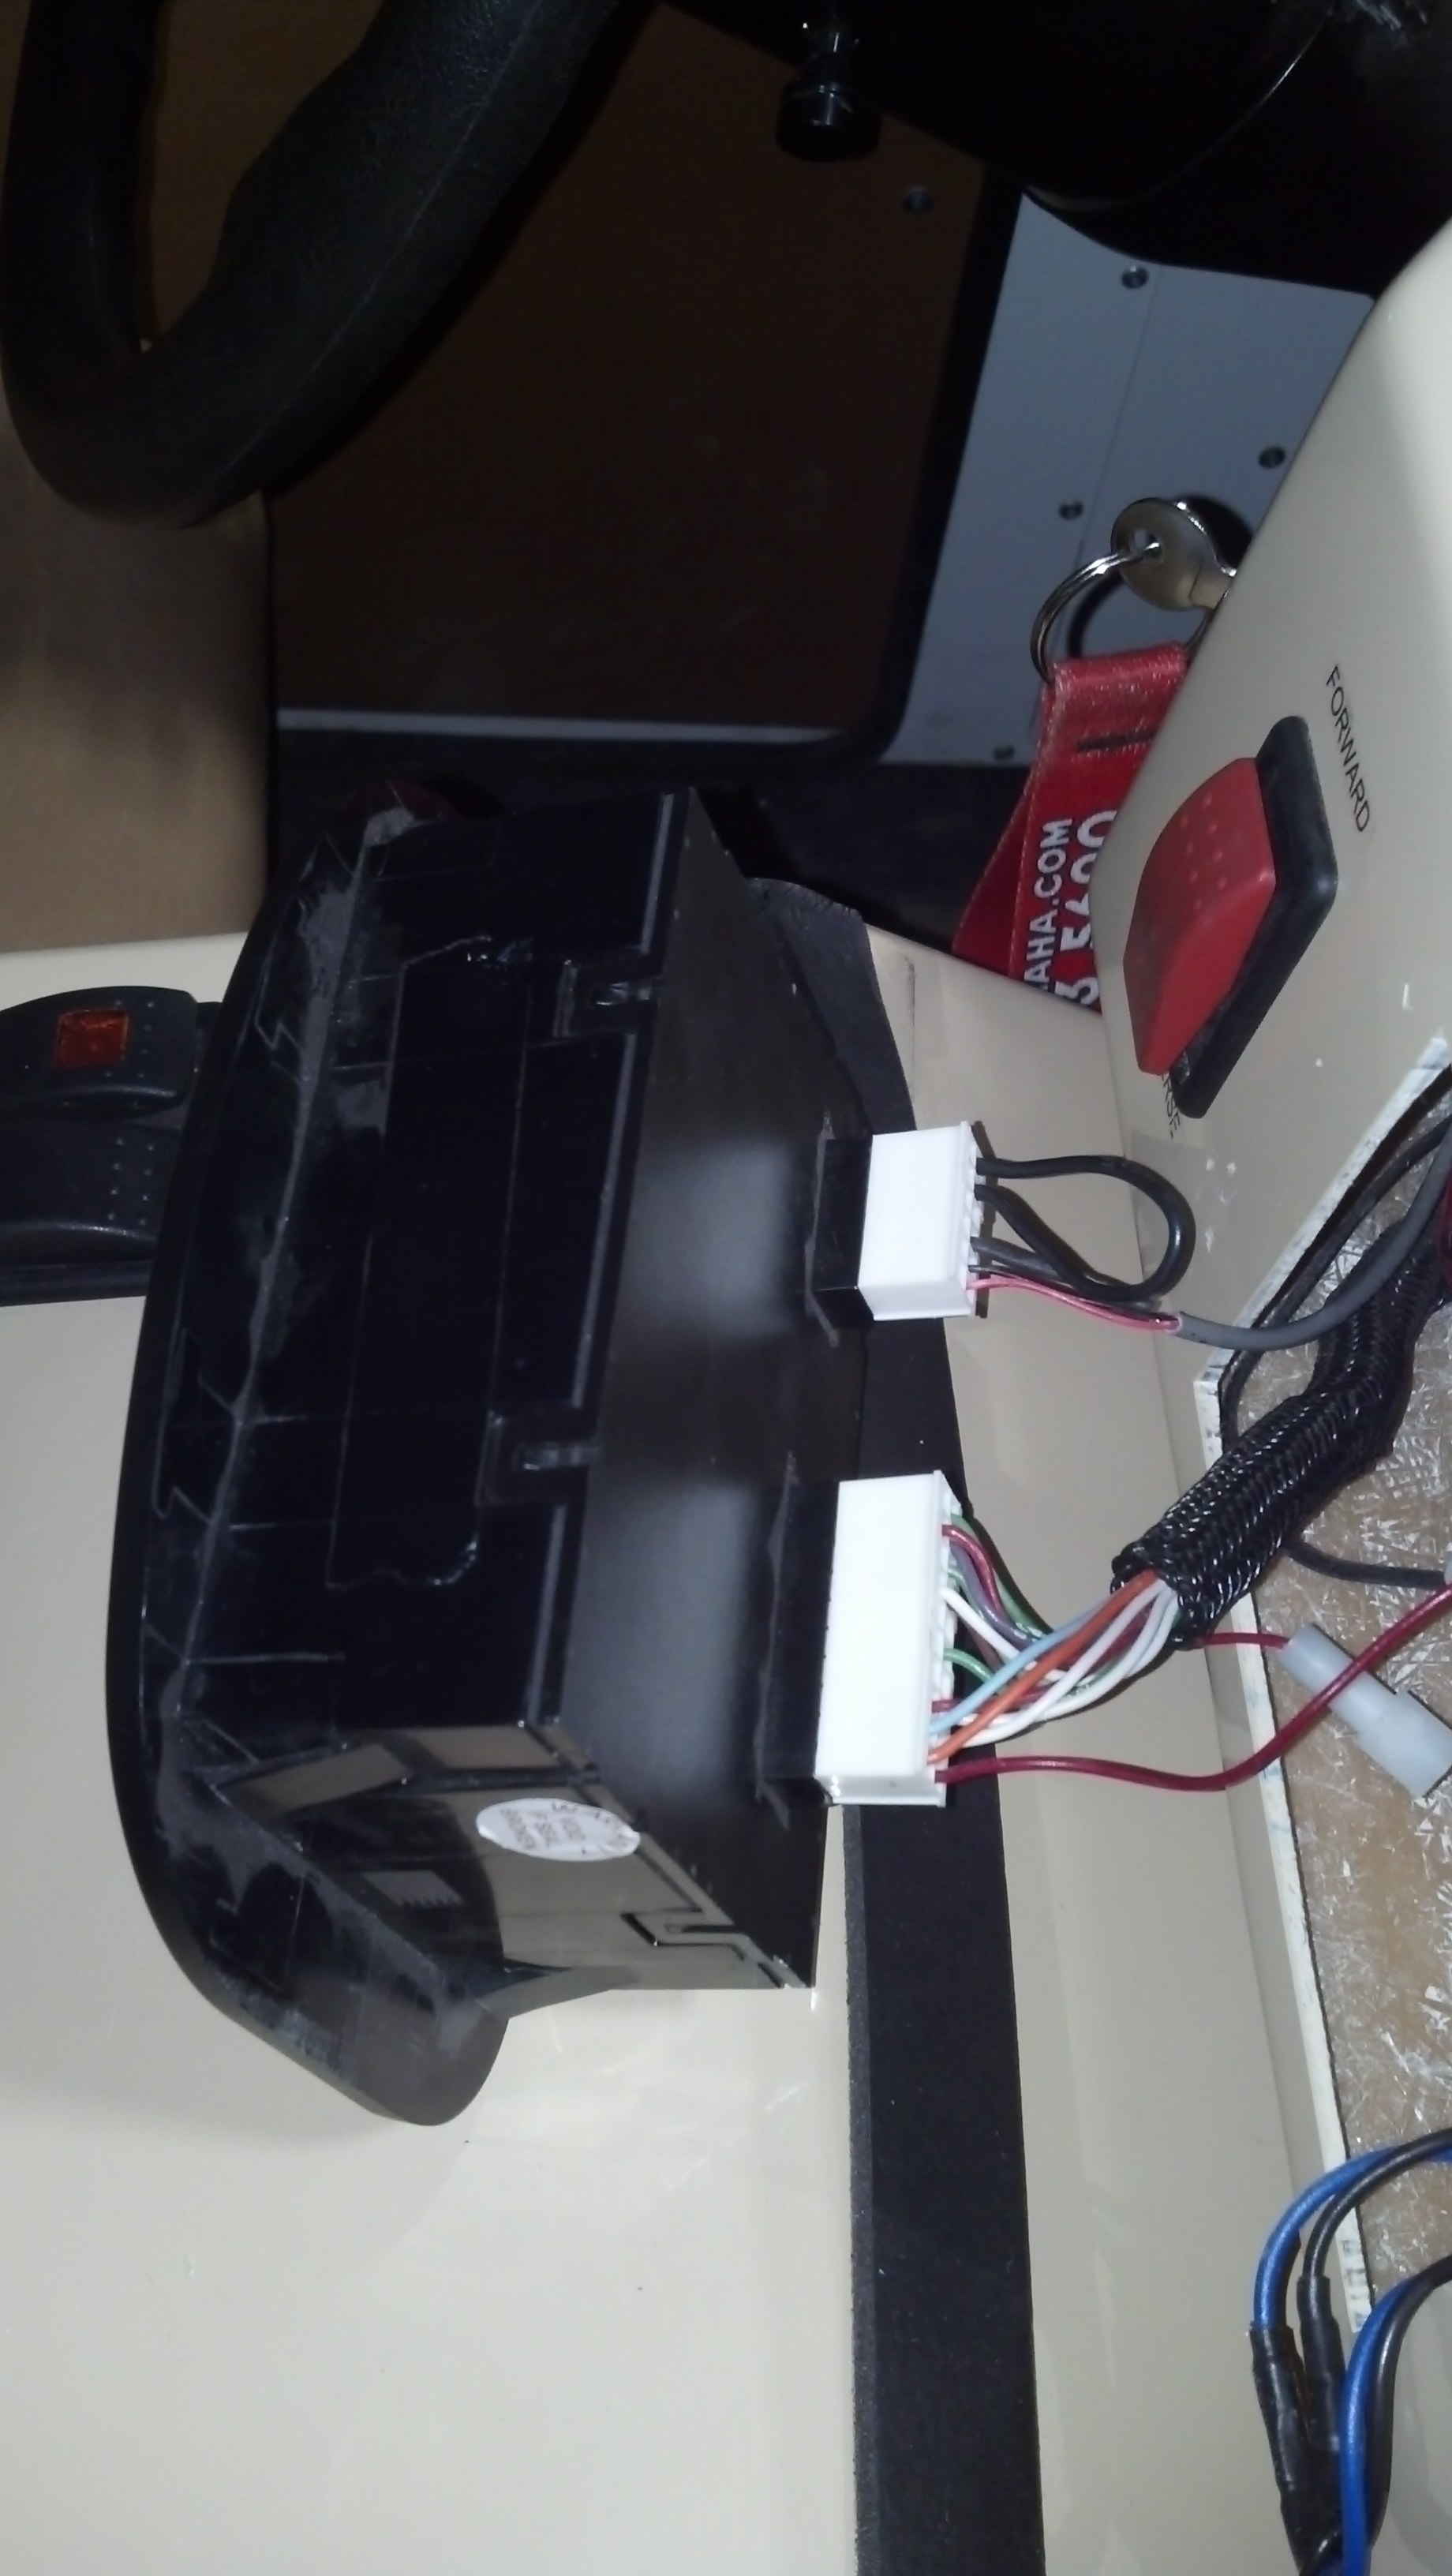
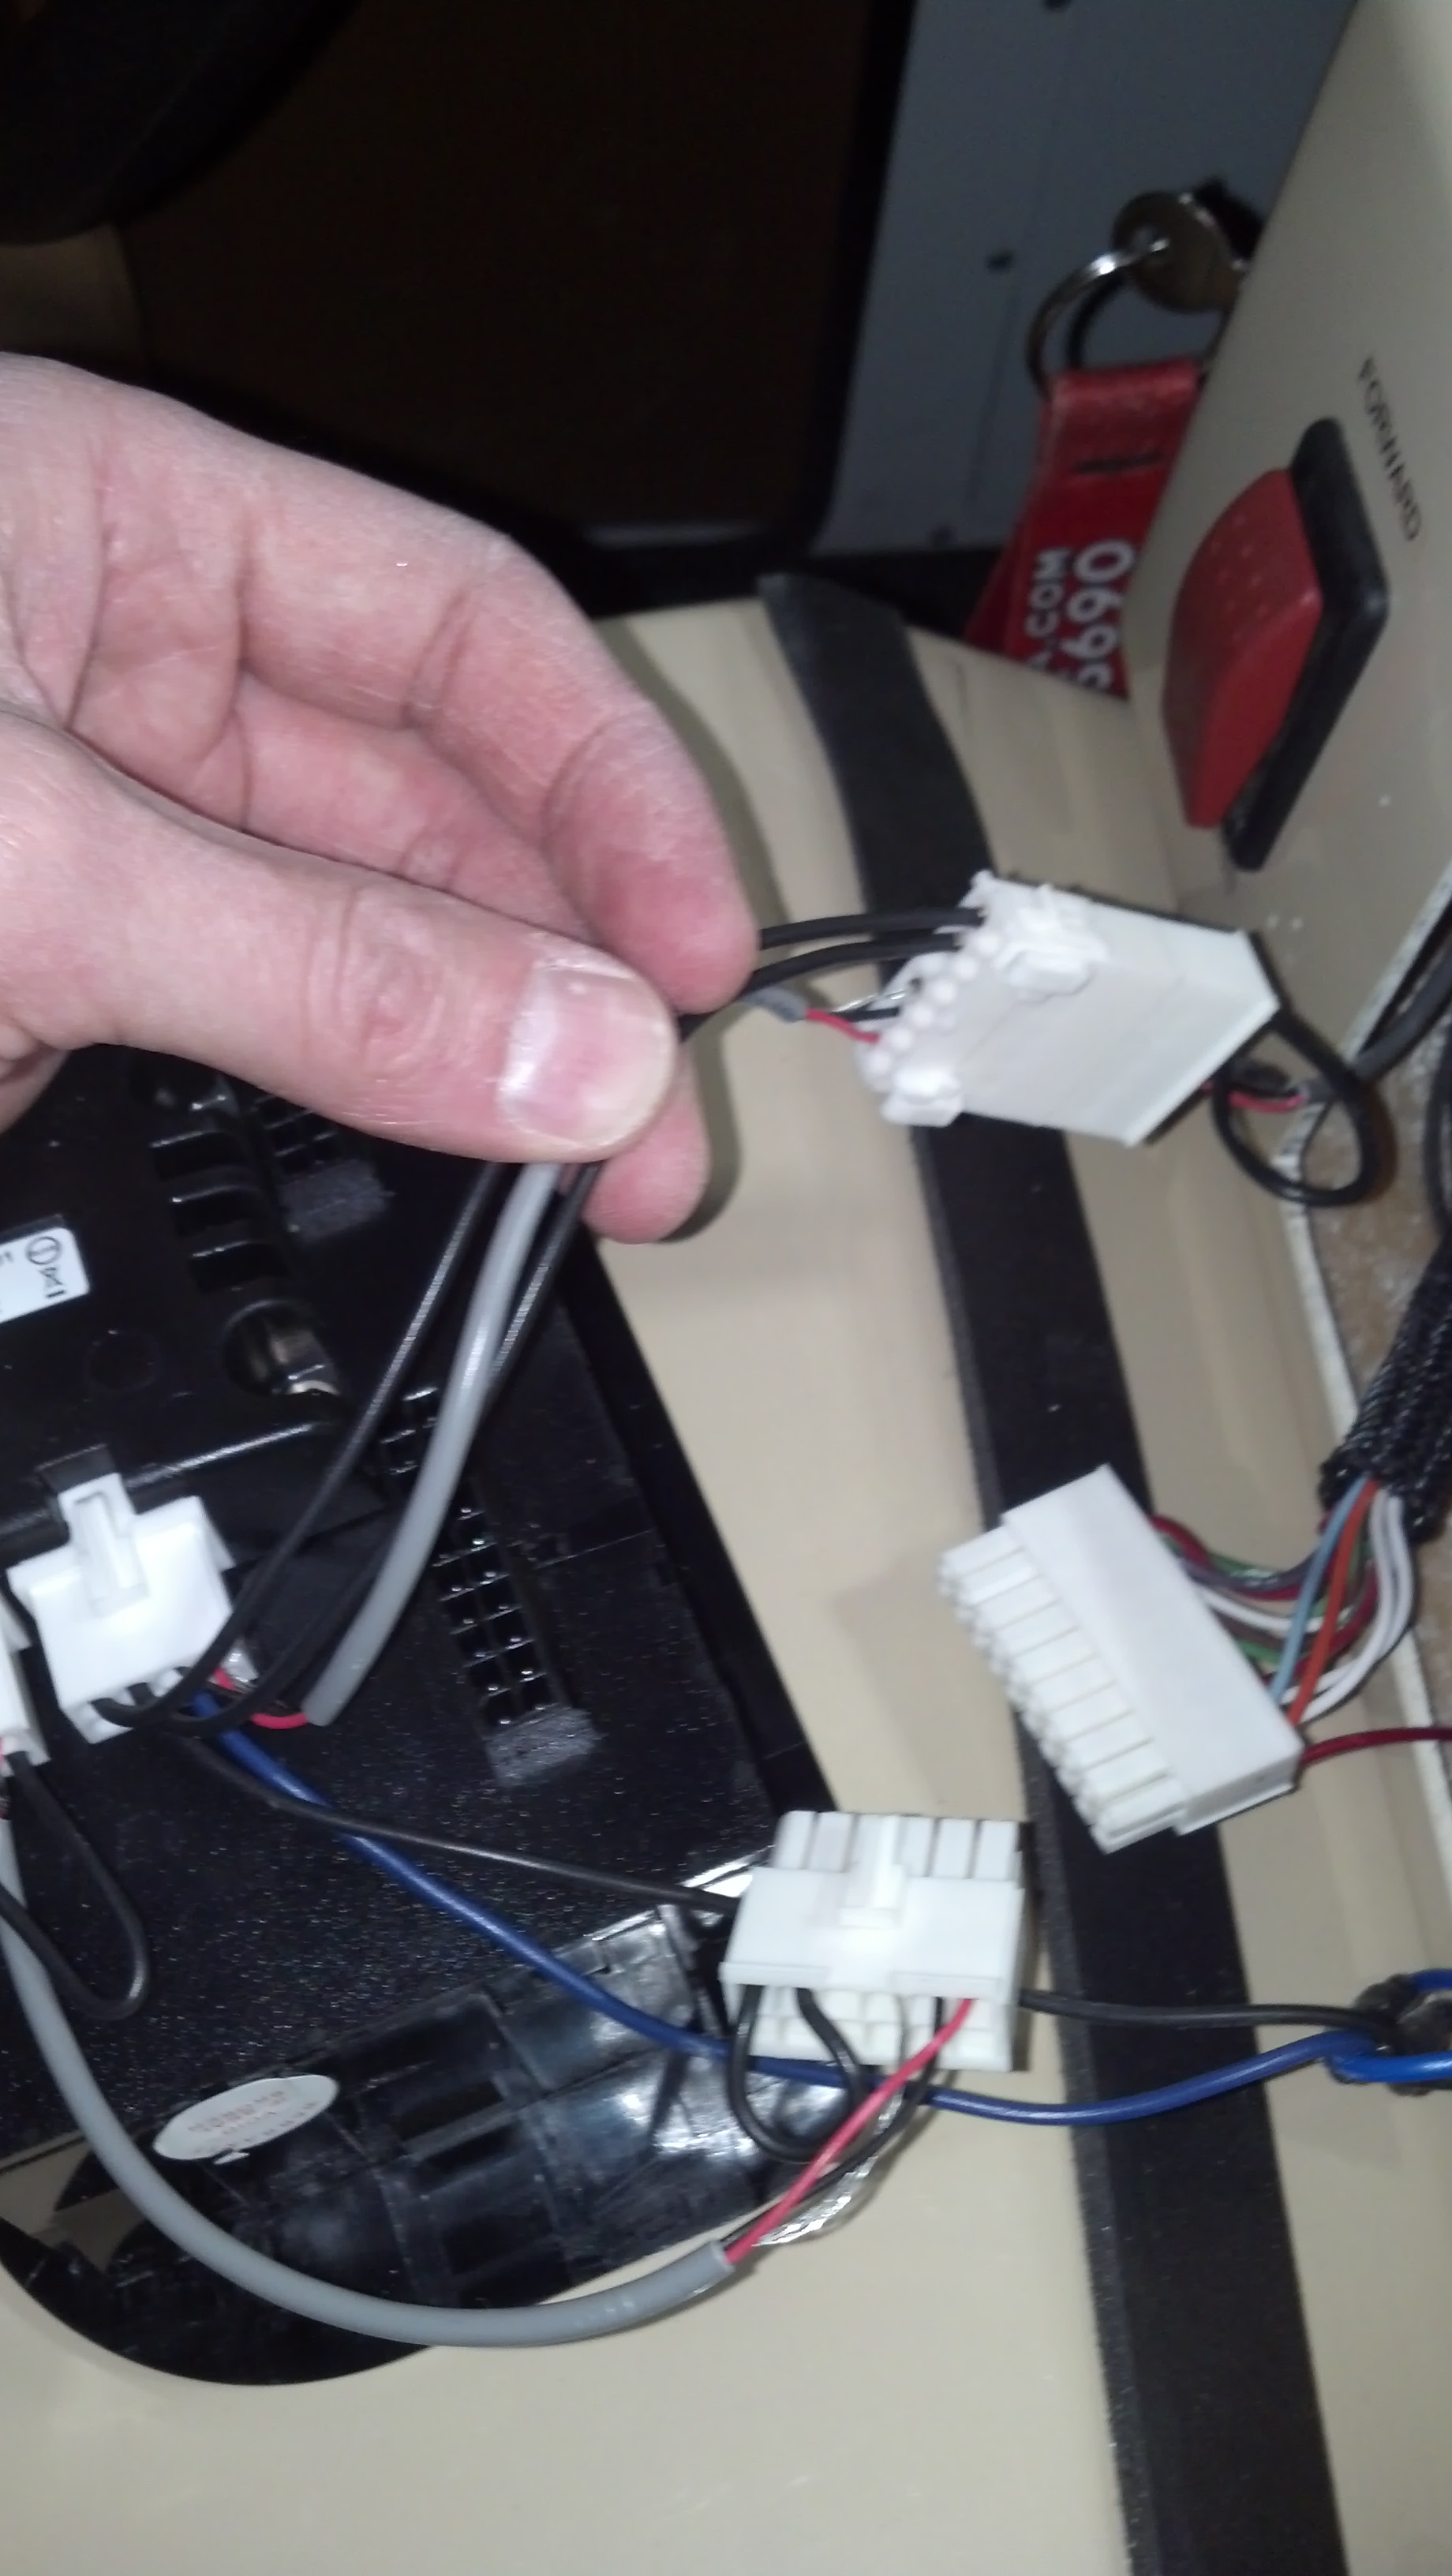
8 - There are two connectors at the rear of the display. The smaller connector needs to be unplugged. They have plastic retainers at the bottom. It does work best to use a small flat screwdriver to get under the tab. Pressing them with your hand is usually not enough to get them to disconnect.
9 - The new part will have adhesive tape on the back of it. Remove the protective layer exposing the sticky part of the tape and adhere to the back of the display as shown.
Prep surfaces as always with adhesive tapes.
The part will overhang the top of the display, but it can still be installed into the dash.
10 - Plug in the 12-pin socket connector of the new part into the small plug that was unplugged from the dash display.
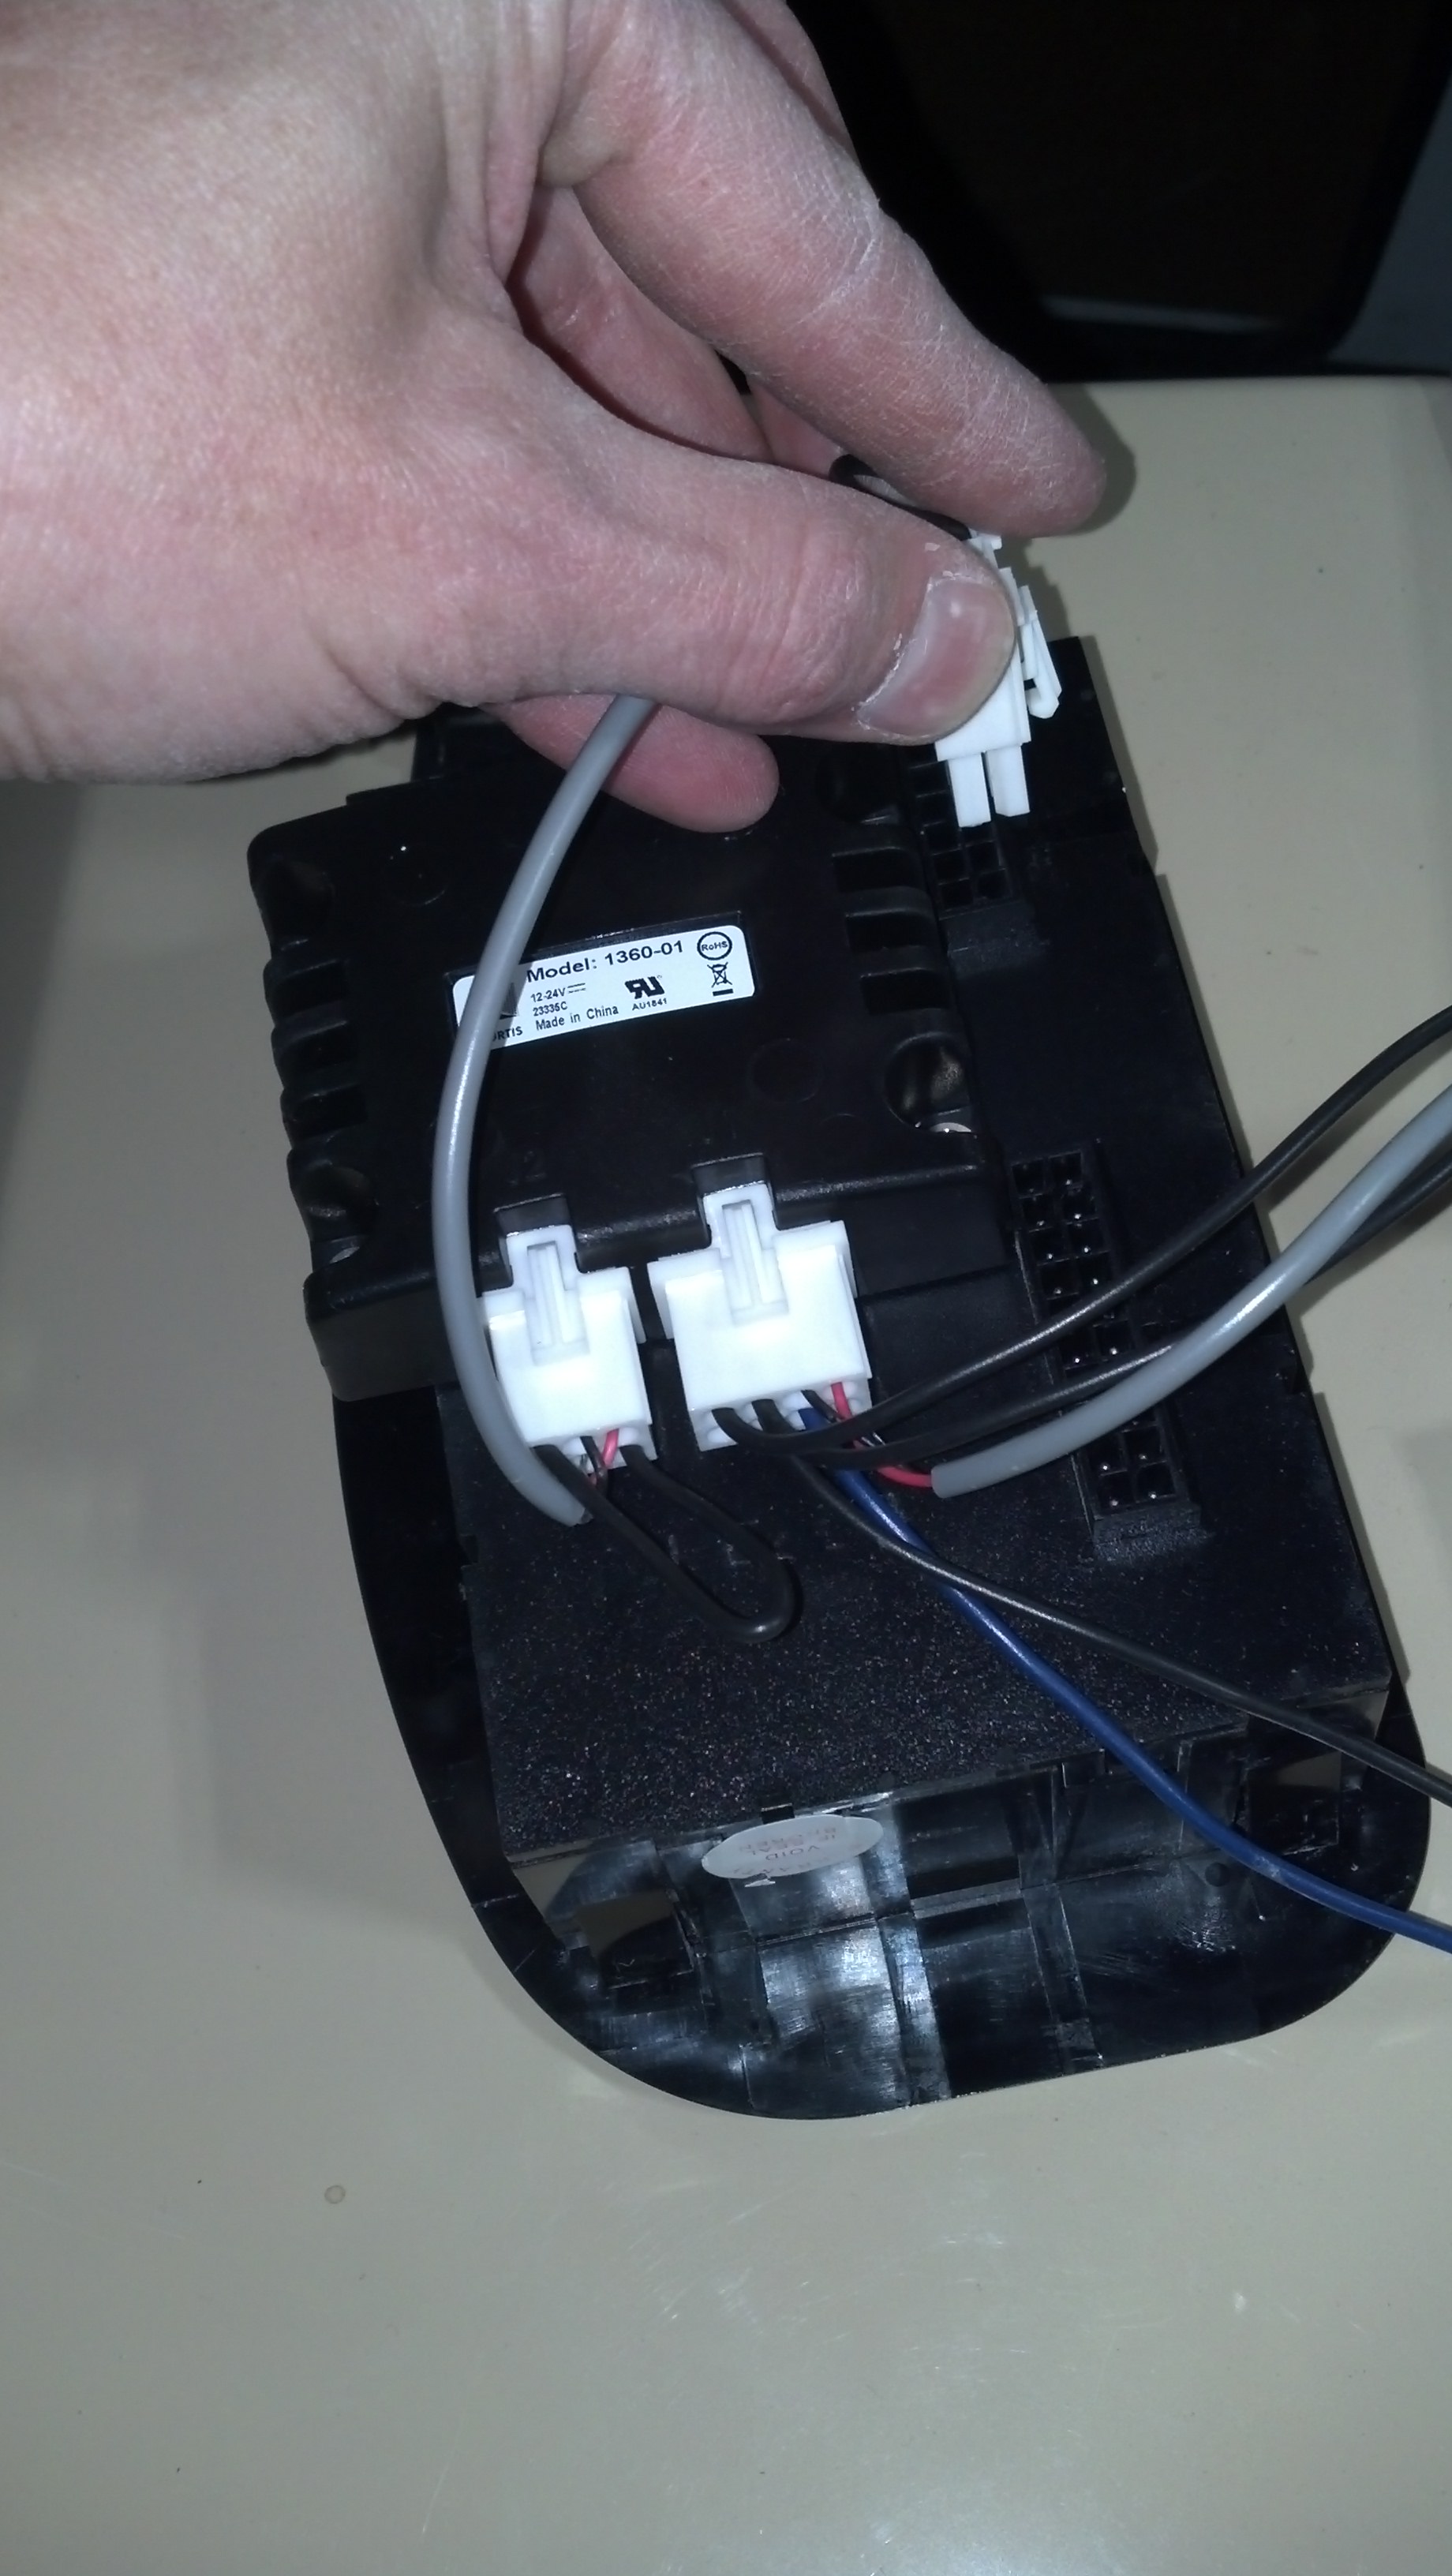
11 - Plug in the 12-pin plug connector of new part into the small socket of the dash display.
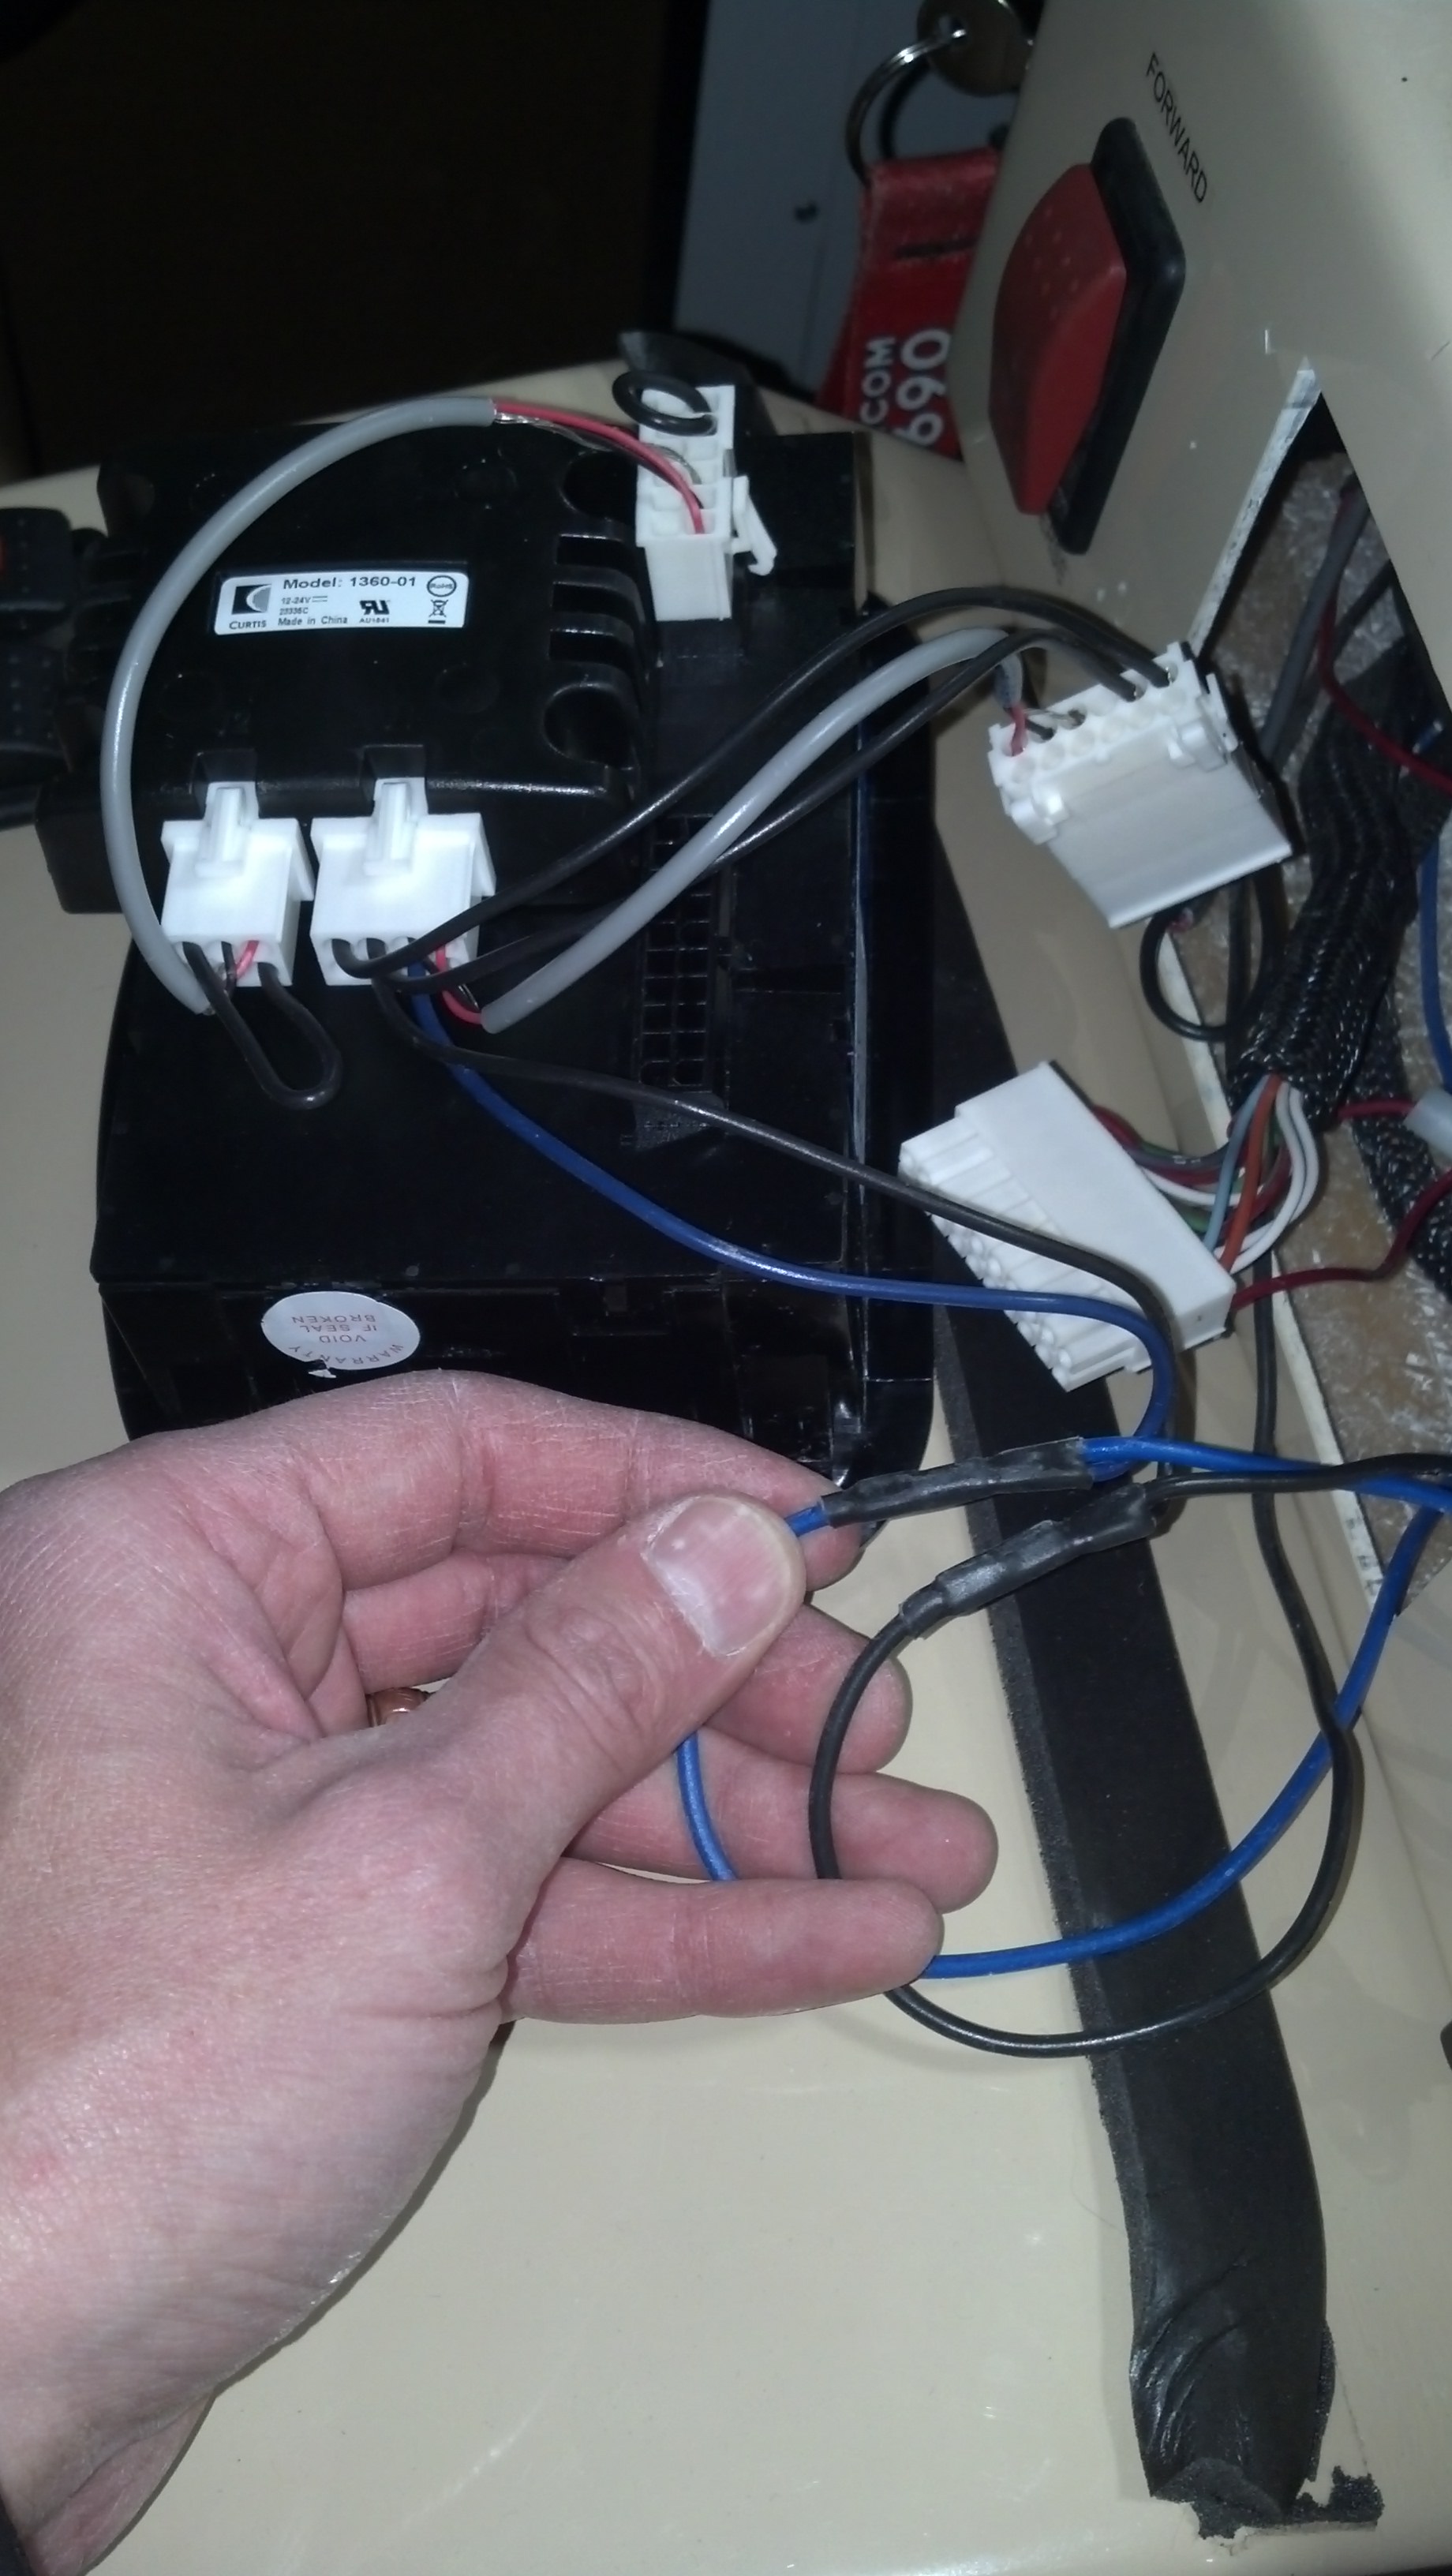
12 - On the new part you will have two single wires remaining. One blue and other black. Find the wires going to the round power outlet next to the display. These wires are longer giving you length to work with.
Splice the wires together. Blue to blue and then black to black.
13 - Turn main battery disconnect switch back on and if equipped with lithium batteries plug the vehicle in to charger for at least 3 seconds to get the vehicle to power up.
14 - Test to see if everything is working correctly making sure the speed registers on the display and if equipped with lithium batteries the up button of dash display, take and press and hold it until second screen comes up. All the values should read a number. If all values are 0 then there is an issue with the installation.
15 - The Final step is to re-install the dash display. You will need to tilt the display into place due to the new part overhanging the top of the display. The rest is just putting it back together in reverse of how it was taken apart.